Your cart is empty
return to shopThis page turns the printed MB40 owner's manual into a web version for parents. Read the safety section before the first ride, and keep the manual with the bike if it changes hands.
Download the PDF manualMB40 product page
MB40 quick facts
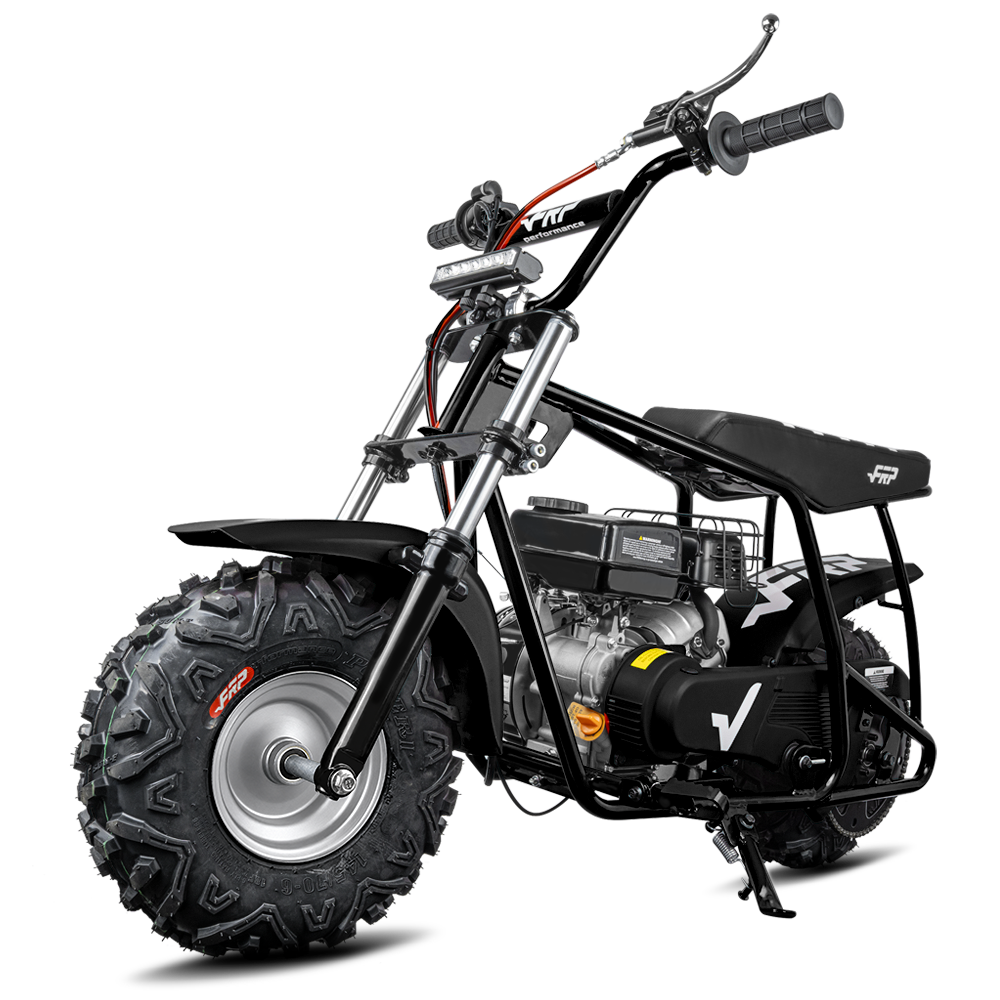
The MB40 is a small gas mini bike with a hand pull start, chain drive and a rear disc brake. These figures come from the technical specification page of the manual.
| Item | Manual says |
|---|---|
| Engine | 4-stroke, EPA approved |
| Fuel | Unleaded 87 octane gasoline; no ethanol-blended fuel, stale fuel or fuel mixed with oil |
| Fuel capacity | 0.65 L |
| Engine oil | SAE 10W-40 for most climates; oil tank capacity 80 ML |
| Start | Hand pull start |
| Brake | Disc brake, operated by the rear brake lever |
| Drive | Chain |
| Tires | 110/50-6.5 pneumatic; 28 psi cold recommended |
| Max speed | 18 mph |
| Max load | 165 lbs |
| Net weight | 46.3 lbs |
| Size (L x W x H) | 40" x 17" x 25" |
| Rider age | 6 or older; never for children under 6 |
| Riders at a time | One; no passengers |
| Assembly time | About 20 minutes for an adult |
The manual gives an age (6 and older) and a maximum load (165 lbs) but no height or inseam guidance. It says the guardian must judge whether a minor has the physical and developmental level to ride safely. More detail is on the MB40 specification page.
What is in the box and what tools you need
The MB40 ships with four parts to attach: the handlebar, front fender, front wheel and seat. The oil bottle for the first fill is in the package. The rest of the bike is already assembled at the factory.
Tools the assembly steps call for
- 8 mm and 10 mm wrenches (handlebar)
- 14 mm and 19 mm wrenches (front wheel)
- Phillips screwdriver (front fender and seat)
Unpacking
- Remove the foam separators that protect parts in transit.
- Check for paint scratches, dents or bent cables. The manual says minor blemishes or dents on the outer box are not a concern.
- Confirm all four parts are there before you start.
Manual warning: Before doing any maintenance or assembly work, make sure the kill switch is in the OFF position.
How to assemble the MB40
Assembly has four jobs, done in this order: handlebar, front wheel, front fender, seat. The full video walk-through is below.
FRP MB40 Mini Bike Unboxing and Assembly Guide (2:16)
1. Install the handlebar
- Insert the handlebar into the designated holes on the triple clamp and line it up.
- Insert the screws and tighten them securely with 8 mm and 10 mm wrenches. When tight, the handlebar should not move forward or backward.
Video: How to Replace the Handlebars for FRP MB40 Mini Bike (1:04)
2. Install the front wheel
- Stand the bike upright with the front fork about 20 cm off the ground.
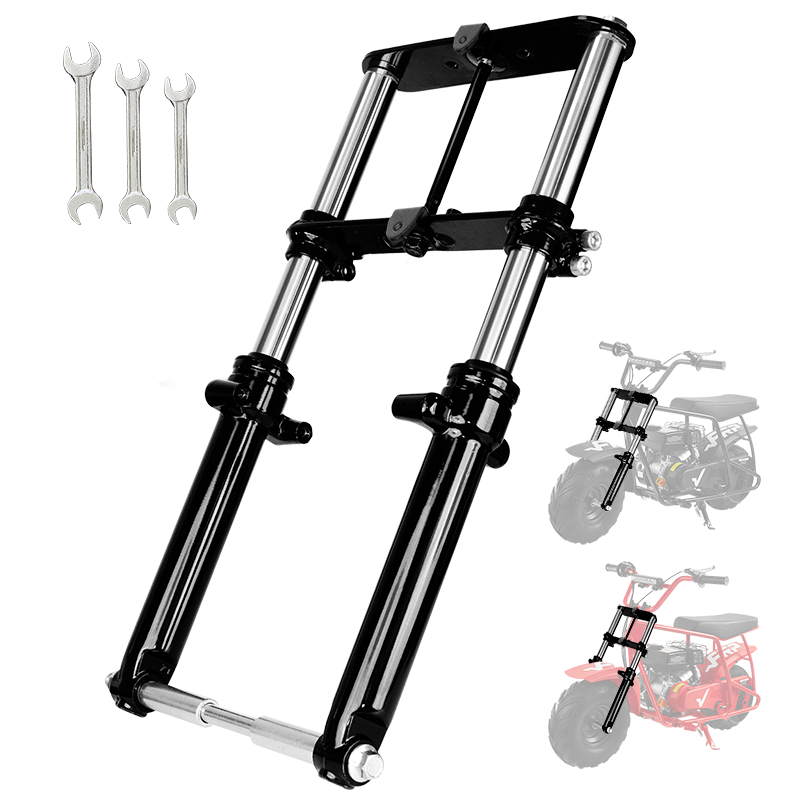
- Loosen the screws on the bearings, then thread the bearings in order through the front fork, spacer and tire.
- Point the tread, with its pointed edges, facing forward.
- Thread the bearings from the left side of the frame to the right side.
- Put the other spacer on the opposite side of the tire and thread the bearing through it.
- Thread the nut onto the end and tighten it with 14 mm and 19 mm wrenches.
- Check that the wheel is on properly, spins freely and shows no looseness or wobble.
Video: How to Replace the Front Wheel for FRP MB40 Mini Bike (0:54)
3. Install the front fender
- Line up the mounting holes on the fender with the holes on the front fork.
- Tighten the screws with a Phillips screwdriver.
- Confirm the fender is firmly attached with no looseness.
- Check the gap between the fender and the front wheel. There must be enough space that the tire never rubs the fender.
4. Install the seat
- Line up the seat holes with the frame holes.
- Secure the screws, seat and frame with a Phillips screwdriver.
- Confirm the seat is tight with no wobble.
Check before moving on: the handlebar must not shift, the front wheel must spin freely, the fender must clear the tire, and the seat must not wobble. Fix any of these before you add fuel.
Video for the start-up steps that follow: How to Set Up and Start FRP MB40 Mini Bike (2:56)
How to add oil and fuel and start the MB40
Add engine oil first, then fuel. Start with the kill switch ON and the choke lever UP, pull the starter, then move the choke lever DOWN once the engine is running. The manual gives these steps:
- Find the oil fill cap beneath the engine, unscrew it and remove the warning strip.
- Pour oil into the engine using the oil bottle provided in the package.
- Screw the fill cap back in, then unscrew it again and read the markings on it.
- Make sure the oil level is above the minimum mark. If it is below, add oil until it is above the minimum mark.
- Unscrew the gas tank cap, pour in gasoline and screw the cap back on.
- Make sure the kill switch is in the ON position.
- Press the vent valve below the carburetor 3 to 5 times to push air out of the fuel line and fill it with fuel.
- Move the choke lever to the UP position.
- Pull the pull start.
- Wait until the engine starts.
- Move the choke lever to the DOWN position.
- To shut the bike off, press the large red button on the engine kill switch.
Manual warning: You must move the choke lever to the RUN position after the engine starts. With the choke left on, no air reaches the carburetor and the bike cannot run.
Manual warning: Follow the manual to oil the centrifugal clutch before and after each ride. Drip several drops of motor oil on the clutch bushing and chain before riding.
Fuel rules: use unleaded gasoline rated 87 octane or higher. Never use ethanol-blended fuel, stale or contaminated fuel, or fuel mixed with oil. To refuel, park on firm level ground, turn the kill switch off, fill until the fuel reaches the bottom of the filler neck, tighten the cap and wipe up any spill.
Pre-ride checklist for parents
Before every ride, an adult should run through these checks. The manual says not to ride the bike if it is not in proper operating condition.
- Tires: check for proper inflation and excessive wear (28 psi cold).
- Look over the whole bike for damage.
- Check the engine oil level and the fuel level. Make sure the fuel cap and the oil filler cap are tight.
- Test that the brake and the throttle work properly.
- Look for fuel or oil leaks.
- Check that all nuts and bolts are tight.
- Make sure the handlebars turn smoothly.
- Do any needed maintenance first.
Kill switch check
The engine kill switch is on the handlebar. Turning it off while the bike is running stops the engine immediately. Show your child where it is, and confirm it stops the engine before the first ride. The manual does not describe a speed limiter or throttle limiter on the MB40, so contact support if you have a question about limiting speed.
How the controls work
- Go: twist the throttle toward the rider to speed up. Releasing it lets the bike slow gradually to a stop.
- Stop: release the throttle and squeeze the rear brake lever firmly and smoothly. Put a foot down when stopped.
- Parking: lower the kickstand, then turn the kill switch to off. Store on a flat surface, sheltered from sun, wind, rain and snow.
Break-in and the first month
The MB40 manual does not include a separate break-in procedure, such as a set idle time or throttle limit for the first tank. What it specifies for a new bike is the first-month service and the oil and clutch care below. Follow these, and ask support if you want more guidance.
- Fill the engine with oil before the first start (step 4 of the first-start list).
- Oil the centrifugal clutch before and after each ride.
- Change the engine oil at the first month or 10 operating hours.
- Re-tighten bolts and nuts if necessary.
To change the oil: run the bike 5 to 10 minutes to warm the oil, stop it with the kill switch, place a catch container under the oil filler neck, and tip the engine toward the filler neck to drain. Refill to the proper level; the oil tank capacity is 80 ML. Take used oil to a government-certified drop-off location.
MB40 maintenance schedule
Check the oil and the air cleaner every time you ride, change the oil at the first month or 10 hours and again every 5 months or 50 hours, and clean the air cleaner every 3 months or 25 hours. The table follows the manual's schedule.
| Item | Each use | First month or 10 hours | Every 3 months or 25 hours | Every 5 months or 50 hours | Every year or 100 hours |
|---|---|---|---|---|---|
| Engine oil | Check | Change | Change | ||
| Air cleaner | Check | Clean | |||
| All bolts and nuts | Re-tighten if necessary | ||||
| Engine cooling fins | Check | ||||
| Spark plug | Clean and adjust | ||||
| Spark arrester | Clean | ||||
| Valve clearance | Every 2 years or 200 hours | ||||
| Clutch shoes | Check | ||||
| Fuel tank strainer | Check | ||||
| Fuel tank | Clean | ||||
| Fuel line | Every 2 years | ||||
Other upkeep in the manual
- Drive chain slack: pull up on the chain midway between the sprockets with the kill switch off. It should move about 1/2 inch. To adjust, loosen the axle nut and the chain tensioner adjustment nut, slide the axle forward to loosen or backward to tighten, then re-tighten both. If the tensioner is as tight as it goes and slack remains, the chain is worn out; contact customer service.
- Chain lubrication: apply chain lubricating oil or any lightweight oil to the chain at the rear sprocket, wipe off the excess, rotate the rear tire, and repeat until the whole chain is oiled. Lubricate the chain after every wash.
- Air filter: pinch the two tabs to remove the cover, take out the sponge filter, clean it with air filter cleaner or a non-flammable solvent while wearing gloves and eye protection, let it dry fully, dampen it with quality air filter oil, squeeze out the excess and reinstall.
- Brakes: adjust the rear disc brake as it loosens with use (see the troubleshooting table).
- Tires: check the pressure cold, at 28 psi, never while the engine is running. Look for bumps, bulges, cuts, cracks, embedded objects and wear. Replace a tire if fabric or cord shows through or there are bumps or bulges. Never ride with a bent or dented rim.
- Washing: use a garden hose, a soft sponge, water and mild detergent. Do not aim water at the engine and do not use a pressure washer. Never wash the bike with the engine running.
Common MB40 problems and fixes
Most start-up problems on the MB40 trace to the choke lever, the kill switch, the fuel cap vent or the fuel line. These fixes come from the manual. If the bike still misbehaves, stop riding and contact support.
| Problem | What the manual says to do |
|---|---|
| Bike will not run after starting | Move the choke lever to RUN after the engine starts. Left on choke, no air reaches the carburetor. |
| Will not start or runs poorly | Check that the kill switch is ON. Press the vent valve below the carburetor 3 to 5 times to fill the fuel line. Then check the fuel cap vent (next row). |
| Starts only after the fuel cap is loosened | The fuel cap vent is probably clogged. With the kill switch off, remove the cap to let air in, replace it and try again. If it now starts, clean dirt and debris from the cap vent. |
| Bike does not stop well | Adjust the rear disc brake: loosen the adjusting nut, pivot the brake mechanism toward the front until there is very slight tension on the pivot arm, tighten the nut. Do not rotate it as far forward as it goes, or the brake stays engaged. |
| Rear wheel does not spin freely | Repeat the brake adjustment without rotating the mechanism as far forward. Check by lifting the rear with the brake lever released and spinning the wheel. |
| Rear wheel still turns with the brake applied | Repeat the brake adjustment, rotating the mechanism further toward the front. With the brake applied and the engine off, the rear wheel should not roll. |
| Oil leaking | Tighten the oil filler cap and the oil drain bolt. |
| Chain too loose or too tight | Adjust to about 1/2 inch of slack. If it will not tighten enough, the chain is worn beyond its service limit; contact customer service. |
| Front tire rubs the fender | Reposition the fender so there is space between it and the tire. |
| Front wheel loose or wobbling | Recheck the front wheel nut, tightened with 14 mm and 19 mm wrenches. |
| Less traction | Inspect the tires and replace them if worn. Remove any foreign objects. |
Manual warning: If the bike is not running correctly, stop riding immediately. Do not ride it back to your base.
MB40 safety, gear, supervision and legal notes
The manual requires adult supervision for every minor rider, protective gear, riding on dirt or gravel only, and compliance with local law. It prohibits stunts, jumps and wheelies.
Rider and supervision
- Never let a child under 6 ride. The guardian decides whether a minor is physically and developmentally ready, and supervises while they ride.
- One rider only. Never carry a passenger.
- Never ride alone. Stay near your base and other people who can help.
- Ride within skill level at comfortable speeds. Keep both hands and feet on the handlebars and foot pegs. Do not brake or accelerate while turning. Take extra care in mud and wet conditions.
- No tricks, stunts, jumps, wheelies or reckless acceleration.
Gear the manual lists
- DOT-approved full-face helmet with a chin strap
- Goggles, boots and gloves
- Long riding pants with hip and knee pads
- Long-sleeved riding jersey with elbow, chest and shoulder pads
- Hair tightly secured
Where to ride
- Dirt, gravel or similar surfaces only. The tires are not stable on concrete or asphalt, and hard surfaces wear tires faster.
- Never run the engine in an enclosed or poorly ventilated space. Exhaust contains carbon monoxide.
Legal
- The MB40 is an off-road vehicle. It is illegal to operate it on public streets, roads and highways, and illegal to operate under the influence of drugs or alcohol even on private property.
- You may need to title or register the bike. Keep the Certificate of Origin.
- The manual says not to modify the bike or attach after-market accessories, and that changes to the carburetor and exhaust violate the law.
- Laws vary by location. Check yours.
Servicing safely
- Turn the engine kill switch off before any maintenance. Never touch parts while the engine runs.
- Oil and gasoline are hazardous and flammable. Keep flames and cigarettes away, and wear protective gear.
- Dispose of waste oil at a government-certified drop-off location.
California Prop 65: the manual warns that operating, servicing and maintaining an off-highway vehicle can expose you to chemicals including engine exhaust, carbon monoxide, phthalates and lead, which California lists as causing cancer and birth defects or other reproductive harm. Avoid breathing exhaust, do not idle more than needed, service the bike in a well-ventilated area and wear gloves or wash your hands.
MB40 repair and replacement videos
These FRP Moto videos show how to replace common MB40 parts. Parts are in the FRP parts collection. The manual states that repairs and part replacements should be done by qualified technicians, so use judgment about what you take on yourself.
Wheels and drivetrain
- How to Replace the Front Wheel for FRP MB40 Mini Bike (0:54)
- How to Replace the Rear Wheel for FRP MB40 Mini Bike (1:10)
- How to Replace the Chain for FRP MB40 Mini Bike (0:29)
- How to Replace Chain Sprocket & Brake Disc Rotor for FRP MB40 Mini Bike (0:51)
Brakes
- How to Replace the Brake Caliper for FRP MB40 Mini Bike (0:53)
- How to Replace the Brake Cable for FRP MB40 Mini Bike (0:50)
- How to Replace the Brake Lever for FRP MB40 Mini Bike (0:38)
Controls and engine
Where to go next
Contact FRP Moto support
Email csr@frpmoto.com or call 833-970-3777 (toll free), Monday to Friday, 8am to 5pm PST. If something goes wrong while riding, the manual says to stop and contact customer service or refer to the manual. For a defective or damaged part within the warranty period, the manual's after-sales page describes free repair and replacement of the component. Write your serial number, or your month and year of purchase, on the back of the manual.