
TL;DR
Dirt bike training wheels are installed by securing the support shaft and mounting hardware to compatible points on the bike. The FRP Training Wheels use a bolt-on design and include:
- A 33.1-inch reinforced steel shaft
- Two heavy-duty 2.50-4, 4PR tires
- M8 × 5.5 cm mounting bolts
- M6 × 5.5 cm mounting bolts
- Installation tools
- A 4.7-inch middle-shaft height
No drilling should be necessary on a compatible bike.
Before ordering, measure the vertical distance from the bike's foot-peg area to the ground. FRP specifies a compatible measurement range of 5.9 to 10 inches. That measurement alone does not guarantee compatibility — you must also confirm a suitable mounting location, adequate frame and drivetrain clearance, and compatible hardware. Within FRP's own lineup, the training wheels fit the FX40 Ogemaw dirt bike as well as the MB40 and GMB100 mini bikes (base configurations).
After installation, set the stabilizer wheels so they support the bike as it begins to lean without lifting the rear drive tire off the ground. Recheck all hardware after the first short ride and periodically during use.
Training wheels reduce low-speed tip-overs, but they do not make a dirt bike risk-free. Riders still need supervision, protective equipment, speed control, and a suitable off-road riding area.

How Do You Put Training Wheels on a Dirt Bike?
On a compatible bike, you install training wheels by attaching the supplied cross-shaft and stabilizer assemblies to the designated mounting points using the included bolts and tools.
The general process is:
- Confirm that the kit fits the bike.
- Stabilize the bike on a stand.
- Identify the correct mounting points.
- Select the correct bolt size.
- Install and center the support shaft.
- Attach both stabilizer-wheel assemblies.
- Adjust both sides evenly.
- Check rear-wheel and drivetrain clearance.
- Tighten the hardware according to the instructions.
- Perform a low-speed inspection before normal use.
The physical installation is usually straightforward. The more important work is verifying compatibility and setting the stabilizer height correctly.
Step 1: Confirm Compatibility Before Ordering
Do not choose training wheels based only on engine displacement. A 40cc, 50cc, or 99cc label does not tell you how high the frame sits, where the mounting points are, whether the support shaft clears the chain and rear wheel, whether the supplied bolts match, or whether the stabilizer wheels can reach the ground correctly.
FRP specifies a foot-peg-to-ground measurement of 5.9 to 10 inches for its training-wheel kit.
How to measure the bike
- Place the bike upright on level ground.
- Keep the tires properly inflated.
- Locate the foot-peg or mounting-area height referenced by the kit.
- Measure vertically from that point to the ground.
- Record the measurement on both sides.
| Foot-peg-to-ground measurement | Initial fitment assessment |
|---|---|
| Under 5.9 inches | Outside the specified height range |
| 5.9–10 inches | Within range; additional checks still required |
| Over 10 inches | Outside the specified height range |
Being inside the height range is only the first check. You must also verify the mounting area is structurally suitable, the M6 or M8 hardware matches the bike, the shaft clears the chain and brake, the wheels clear the exhaust, the stabilizers do not restrict suspension movement, and both sides can be mounted symmetrically.
When fitment is uncertain, confirm the exact make, model, and model year with FRP support before purchasing.
Which Bikes Do FRP Training Wheels Fit?
FRP's training wheels are built to fit its own similarly sized bikes, plus the Razor MX series:
- FRP FX40 Ogemaw — 40cc kids dirt bike (base configuration)
- FRP MB40 — 40cc gas mini bike (base configuration)
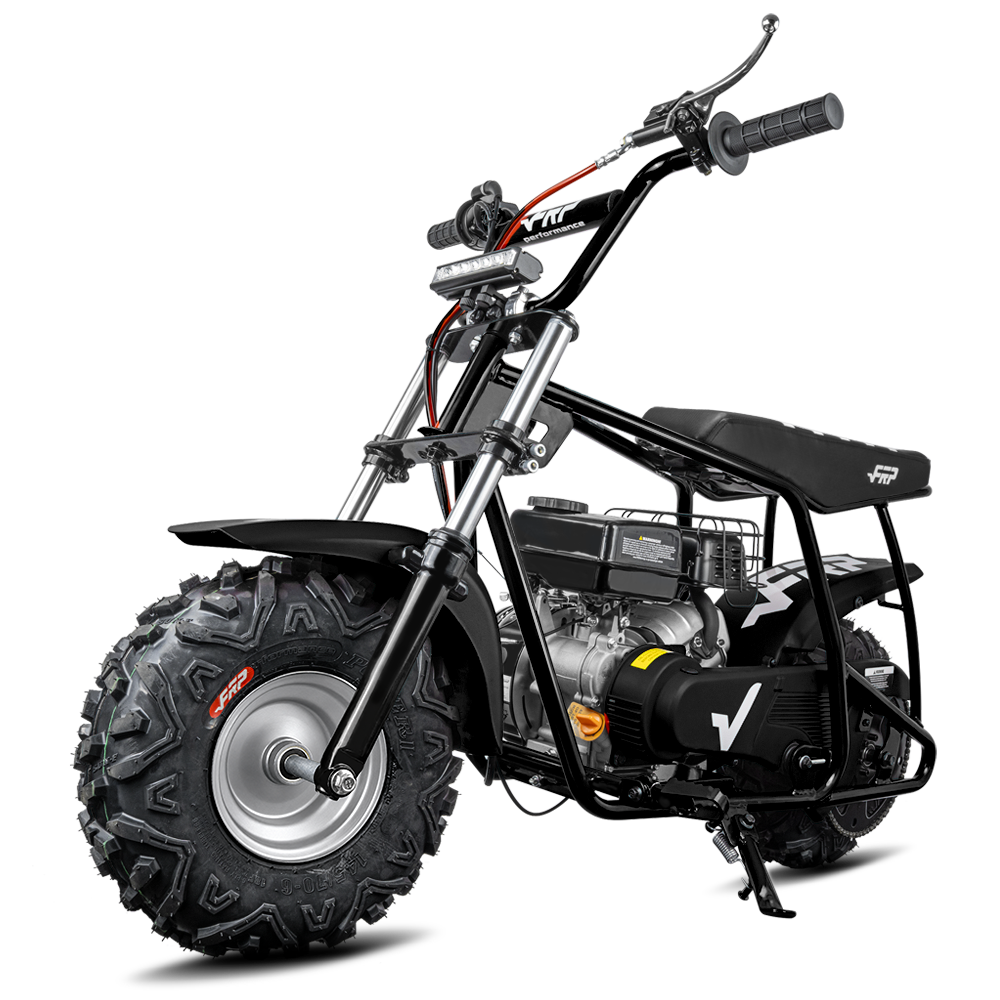
- FRP GMB100 — 99cc gas mini bike (base configuration, including color options)
- Razor MX series — MX125, MX350, MX400, MX500, MX650, and SX500
The kit uses a universal, dual-bolt design and may also fit other similarly sized small bikes. However, for any bike not named above — including third-party bikes from brands such as Honda, Yamaha, or Coleman — treat compatibility as unconfirmed until you verify it:
- Measure the foot-peg-to-ground distance (must be 5.9–10 inches)
- Confirm the mounting-hole location and size
- Confirm the M6 or M8 hardware matches
- Confirm chain, brake, exhaust, and suspension clearance
- Contact FRP support with the exact model and year
Do not assume a bike fits because it is a similar size or engine class. Manufacturers revise frames, brackets, and fasteners without changing the model name.
Do FRP Training Wheels Fit the FX40 Ogemaw?
Yes. The FX40 Ogemaw is the FRP model confirmed as compatible with the training-wheel kit.
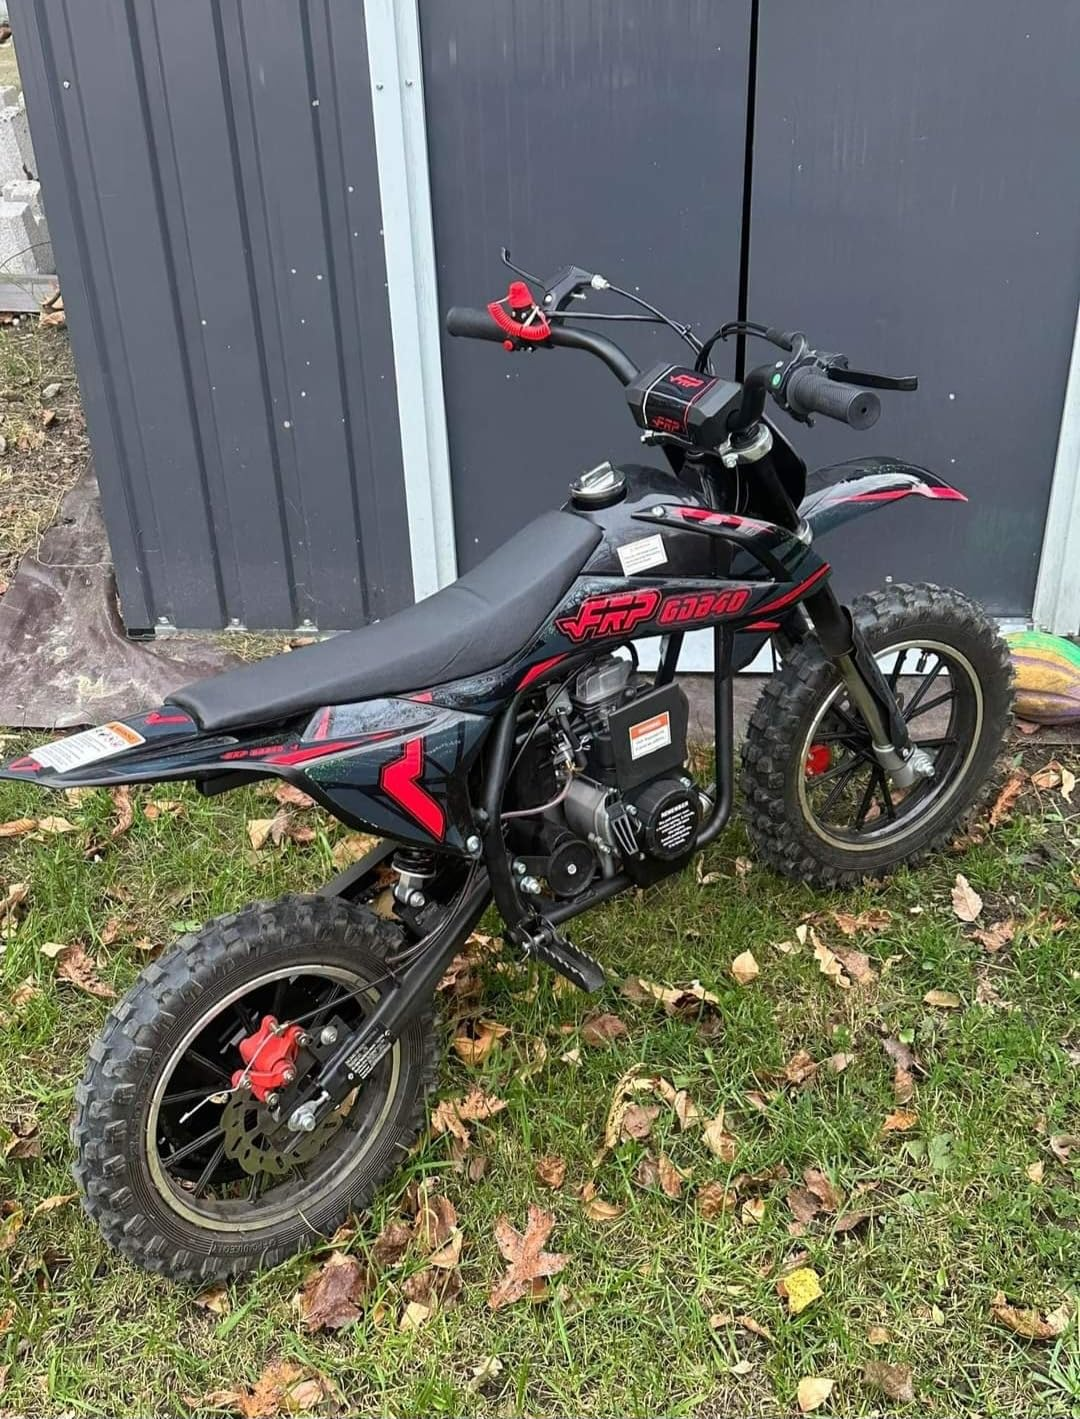
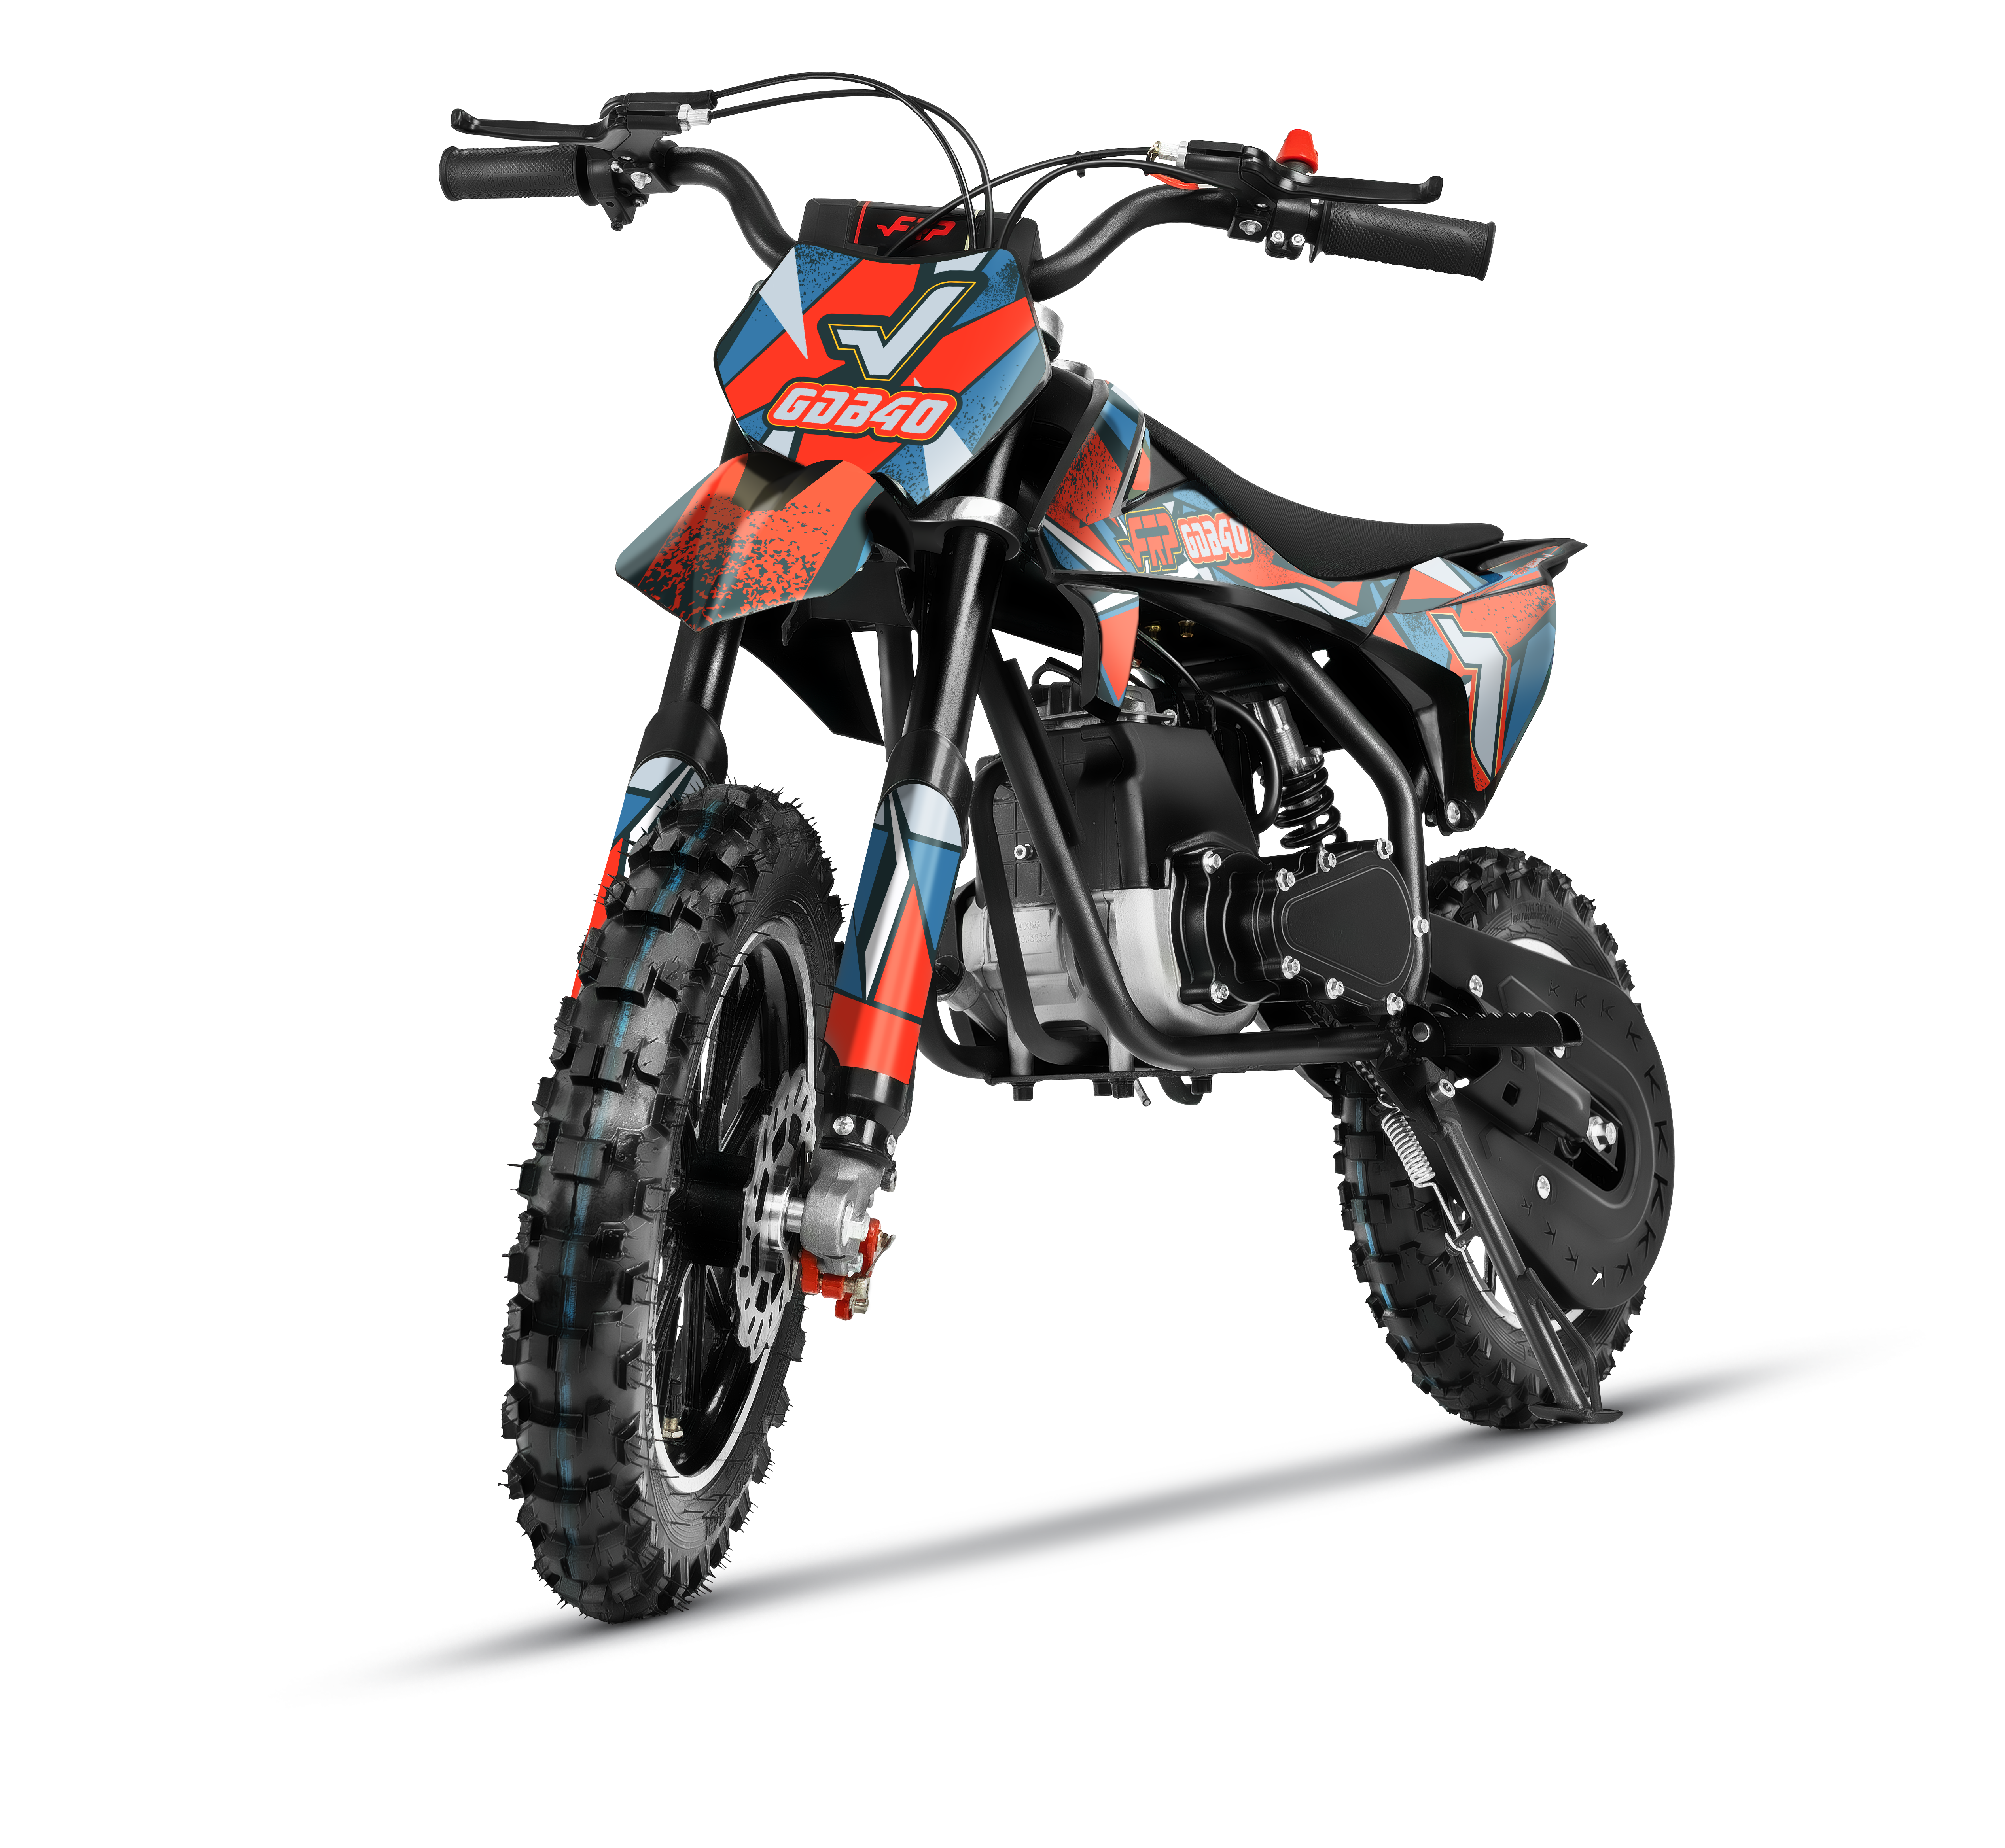
The FX40 Ogemaw is a 40cc four-stroke kids dirt bike with:
- Automatic transmission
- Pull start
- Front and rear suspension
- Front and rear disc brakes
- 20 mph manufacturer-stated maximum speed
- 132 lb maximum rider capacity
- EPA approval
FRP positions it as a first dirt bike for riders roughly 8–14 years old moving onto off-road terrain. The training-wheel kit can provide additional low-speed stability, but parents should still confirm that the rider fits the bike and can reach and operate its controls. For the age breakdown, see what age a kid can ride a dirt bike with training wheels.

What Comes With the FRP Training-Wheel Kit?
| Component | Specification |
|---|---|
| Main shaft | 33.1-inch reinforced alloy-steel shaft |
| Tire size | 2.50-4 |
| Tire construction | Heavy-duty 4PR |
| Mounting system | Dual-bolt system |
| Included bolts | M8 × 5.5 cm and M6 × 5.5 cm |
| Middle-shaft height | 4.7 inches |
| Installation tools | Included |
| Specified peg-to-ground range | 5.9–10 inches |
The current product listing also includes safety accessories such as a reflective vest and a bell. Confirm the current package contents at the time of purchase, since accessory bundles may change.
Step 2: Prepare the Bike
Install the kit on a flat, stable work surface. You will need the complete kit, the included tools, a suitable stand, the bike's owner's manual, and a second adult to steady the bike when necessary.
Before starting:
- Turn off the engine.
- Allow the engine and exhaust to cool completely.
- Remove the ignition key or disconnect the engine-start system where applicable.
- Close the fuel valve, when equipped.
- Place the bike securely on a stand.
- Confirm the bike cannot roll or fall.
- Inspect the mounting area for damage, missing fasteners, or bent components.
Do not work beside a hot exhaust, moving chain, running engine, or unstable bike.
Step 3: Identify the Correct Mounting Points
Use the mounting location specified in the kit instructions for the exact bike. Do not assume the kit attaches directly to the rear axle on every model — arrangements vary by frame.
Before installing hardware, inspect both sides for matching mounting points, sufficient flat contact area, and clearance from the chain, brake disc and caliper, exhaust, suspension, and tire, with equal positioning on both sides.
Do not attach the kit to thin plastic panels, exhaust brackets, brake lines, chain guards, damaged frame sections, or unverified holes. Do not drill the frame or enlarge holes unless the vehicle and kit manufacturers expressly authorize it.
Step 4: Select the Correct Mounting Bolts
The kit includes M8 × 5.5 cm and M6 × 5.5 cm bolts. Select the size that matches the bike's intended mounting point.
The correct bolt should match the thread diameter, enter cleanly without force, engage sufficient thread, and seat correctly against the bracket without contacting the chain, tire, or brake.
Stop if the bolt binds after the first turn, the threads do not align, the bolt is visibly angled, or the supplied hardware does not match the bike. Never force an M8 bolt into an M6 point — the wrong thread can permanently damage the mounting point.
Step 5: Position the Main Shaft
Place the support shaft in the specified position. Before tightening it fully:
- Center the shaft relative to the bike.
- Check that the left and right sides extend evenly.
- Confirm the shaft is level.
- Verify it clears the chain and rear tire.
- Cycle the rear suspension carefully, where applicable.
- Confirm nothing contacts the shaft through the expected suspension movement.
An off-center shaft can make the bike lean unevenly and overload one stabilizer. Tighten the two sides gradually rather than fully tightening one first.
Step 6: Install the Stabilizer Wheels
Attach the left and right wheel assemblies to the main shaft per the instructions. Before final tightening, confirm both wheels face the correct direction, both tires rotate freely, the two sides are at equal positions, no bracket is twisted, and no hardware contacts the tire, chain, or brake.
Measure both sides rather than relying only on visual alignment. Unequal positions can make the bike sit or turn unevenly.
Step 7: Set the Training-Wheel Height Correctly
Training wheels should stabilize the bike without turning it into a rigid platform. The rear drive tire must remain in firm contact with the ground. Set the stabilizers so they provide support when the bike begins to lean, while the primary tires carry the bike normally.
The stabilizers are too low when the rear drive tire loses contact or traction, the bike rocks on the stabilizers, both constantly carry the bike, or steering becomes unusually resistant.
The stabilizers are too high when the bike can lean excessively before support begins, the rider can tip beyond a controllable angle, or one wheel rarely reaches the ground.
Set both sides evenly and check with the bike upright on level ground. Do not make the first adjustment while the engine is running.
Should Both Training Wheels Touch the Ground?
Not necessarily with equal full load at all times. The stabilizers generally should not lift the main drive wheel or carry the entire rear of the bike — their purpose is to limit excessive lean and catch the bike as it begins to tip.
When the bike is upright, the main tires should support it, the rear drive tire should keep traction, the stabilizers should be symmetrical, and a small amount of controlled side-to-side movement may remain. A completely rigid setup can prevent the rider from learning balance and reduce traction on uneven ground.
Step 8: Tighten and Inspect the Hardware
Tighten the hardware in the sequence and to the specification in the applicable instructions. FRP's public product page does not provide a numerical torque value, so do not guess a torque figure or apply a generic motorcycle-axle spec. Tighten firmly per the manual and re-check after the first ride.
After tightening, confirm no bracket moves by hand, the shaft remains centered, both wheels rotate freely, and the chain, brake, and exhaust are clear, with no pinched cables and unobstructed suspension. If the manual lacks sufficient mounting information, contact FRP support before riding.
Step 9: Perform a Low-Speed Test
The first test should take place in a flat, open, controlled area. The rider should wear a helmet, eye protection, gloves, long sleeves, long pants, over-the-ankle footwear, and knee and elbow protection. An adult should walk beside the bike.
Begin with engine-off pushing, then straight-line rolling, slow starts, controlled stops, wide turns, and gentle lean checks.
Stop immediately if a stabilizer shifts, a bolt loosens, the shaft flexes, the chain or brake contacts the kit, the rear tire loses traction, one side carries much more weight, or the bike pulls to one side. Do not begin on hills, rocks, ruts, loose sand, jumps, or crowded trails.
Step 10: Recheck the Kit After the First Ride
Training-wheel mounts take repeated side loads and vibration. After the first session, turn off the engine, let hot parts cool, place the bike on a stable surface, and inspect all fasteners, the shaft position, both brackets, tire condition, free wheel rotation, and chain/brake/exhaust clearance. Retighten only per the instructions.
Continue inspecting before each ride, and replace any bent, cracked, worn, or loose component before further use.
Common Installation Mistakes
Assuming engine size determines compatibility
A 40cc label does not guarantee fit, and a 50cc or 99cc label does not automatically rule it out. Frame geometry and mounting compatibility matter more than displacement.
Treating the 5.9–10-inch measurement as the only requirement
The height range matters, but it does not confirm bolt compatibility, mounting strength, or drivetrain clearance.
Mounting to an unverified part of the frame
Not every bracket or hole is designed to carry lateral stabilizer loads.
Forcing the wrong bolt size
Cross-threaded or mismatched bolts can damage the bike and loosen the assembly.
Setting the stabilizers too low
This can lift or unload the rear drive tire, reducing traction and control.
Setting one side lower than the other
Uneven setup can make the bike pull, sit crooked, or overload one bracket.
Failing to check suspension travel
A kit may clear while the bike is unloaded but contact the chain, tire, or frame when the suspension compresses.
Skipping the first-ride inspection
Newly installed hardware can settle or loosen after vibration and side loading.
Using training wheels as a substitute for supervision
Stabilizers do not control speed, braking, throttle input, or terrain selection.
Can You Install Training Wheels on a 50cc Dirt Bike?
Possibly, but the "50cc" designation does not determine compatibility. Fit depends on frame geometry and the mounting system, not engine displacement.
FRP's own bikes that accept the training wheels are the FX40 Ogemaw dirt bike and the MB40 and GMB100 mini bikes, along with the Razor MX series. A 50cc bike from another brand is not on that list, so before fitting the kit to one you must verify the foot-peg-to-ground measurement (5.9–10 inches), the mounting-point location, the M6 or M8 hardware, and rear-wheel, chain, brake, and exhaust clearance.
The accurate answer is: compatibility depends on the bike's geometry and mounting system, not the 50cc engine label.
Can You Use FRP Training Wheels on Razor MX Bikes?
Yes. FRP lists several Razor MX models as compatible: MX125, MX350, MX400, MX500, MX650, and SX500.
Because Razor has produced different revisions, still measure the bike and confirm the exact version before installation, paying attention to the frame revision, rear brake layout, chain clearance, mounting-hole size, and battery or motor clearance on electric models.
How Long Should a Child Use Dirt Bike Training Wheels?
There is no fixed number of days or rides. Remove them when the rider can consistently start without panicking, hold a straight line, use the brakes smoothly, look ahead, make controlled wide turns, stop without falling, correct small balance errors, and control speed independently.
The rider should demonstrate these in a flat, open area before riding without stabilizers. Do not remove them solely because of age, and do not leave them installed indefinitely if they are preventing the rider from learning balance.
How to Transition Off Training Wheels
Use a gradual process rather than removing them unexpectedly.
Stage 1 — Correctly adjusted stabilizers. Keep the wheels low enough to stop excessive lean, but not low enough to unload the rear tire.
Stage 2 — Reduce stabilizer contact. Where the kit permits, increase the clearance slightly so the rider must balance more before the wheels provide support. Make only small, symmetrical adjustments.
Stage 3 — Supervised practice without the kit. Remove the kit and begin on flat ground, open grass or hard-packed dirt, at low speed, in straight lines and wide turns, with an adult close enough to assist.
Stage 4 — Reinstall when necessary. Because the kit is bolt-on, it can be reinstalled if the rider is not yet ready. Always follow reinstallation with a full hardware and clearance inspection. For a full progression, see our guide on transitioning off training wheels.
How to Remove Dirt Bike Training Wheels
Removal is generally the reverse of installation:
- Turn off the engine and let the bike cool.
- Stabilize it on a suitable stand.
- Support the shaft before loosening the hardware.
- Remove the wheel assemblies.
- Remove the mounting shaft and brackets.
- Reinstall any original bike hardware displaced during installation.
- Inspect the mounting points.
- Confirm the brakes, chain, and suspension operate normally.
- Perform a slow test before normal riding.
Store all kit components together — bolts, washers, brackets, tools, and instructions. Do not leave unused brackets or loose hardware attached to the bike.
FAQ
How do you put training wheels on a dirt bike?
Confirm compatibility, stabilize the bike, install the main support shaft at the approved mounting points, attach both stabilizer assemblies, align them evenly, and tighten the hardware per the instructions. Set the wheels so they limit excessive lean without lifting the rear drive tire.
Do you have to drill holes to install FRP training wheels?
No. The FRP kit is a bolt-on system with M6 and M8 hardware, so drilling should not be necessary on a compatible model. Do not drill or modify a frame to force compatibility.
What measurement determines whether they fit?
FRP specifies a foot-peg-to-ground range of 5.9 to 10 inches. You must also verify mounting points, bolt size, and component clearance.
Which bikes do FRP training wheels fit?
FRP's own compatible bikes are the FX40 Ogemaw dirt bike and the MB40 and GMB100 mini bikes, plus the Razor MX series (MX125, MX350, MX400, MX500, MX650, SX500). Any other bike should be verified by measurement, hardware, and clearance before installation.
Do they fit the FX40 Ogemaw?
Yes. The FX40 Ogemaw is FRP's confirmed compatible model.
Do they fit a 50cc dirt bike?
Possibly. Compatibility depends on the frame, mounting points, and peg-to-ground measurement — not the 50cc engine designation. A 50cc bike is not on FRP's confirmed list, so verify it first.
What tools are required?
Installation tools are included with the kit. A suitable stand and the bike's manual are also recommended.
What bolt sizes are included?
The kit includes M8 × 5.5 cm and M6 × 5.5 cm bolts. Use only the size that correctly matches the bike.
Can you adjust the height?
The assembly can be positioned to establish appropriate stabilizer contact, within the kit's designed mounting arrangement. Adjust both sides evenly.
Should the training wheels lift the rear tire?
No. The rear drive tire should stay in firm contact with the ground. Lifting or unloading it reduces traction and control.
Do training wheels make a dirt bike safe?
No. They can reduce certain low-speed balance-related falls, but they do not prevent crashes caused by speed, braking errors, throttle mistakes, obstacles, or unsuitable terrain.
When should training wheels be removed?
When the rider can consistently start, stop, steer, and maintain balance at low speed in a controlled area. Base readiness on demonstrated control rather than age alone.