TL;DR
- Film mini bike rides in a safe private-property or allowed off-road area.
- Use short clips, clean angles, stable mounting, and good lighting.
- Show the full bike, rider gear, terrain, and controlled riding.
- A good video helps FRP review clips for community features.
Quick Answer
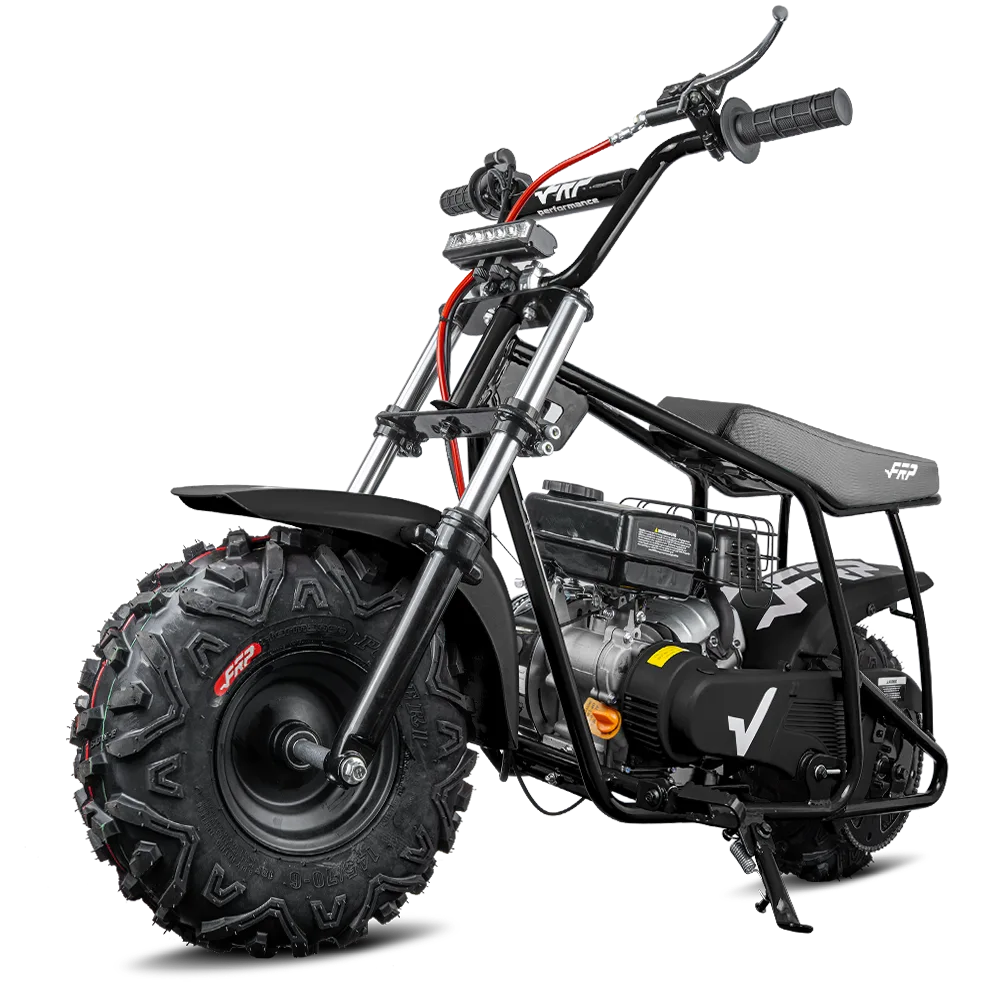
The best mini bike riding videos are simple: a stable shot of the full bike, a clear view of the rider wearing gear, a safe private-property riding area, and a short clip that shows controlled starting, turning, and stopping.
If you want FRP Moto to review your clip for a community feature, focus on clarity instead of stunts. A clean 15- to 45-second video with natural lighting, visible bike details, and safe riding behavior is more useful than a shaky clip that hides the bike or the riding area.
Watch an FRP Mini Bike Video Example
This FRP Moto video is a useful reference for riders who want to understand how a clean mini bike clip can show the bike, rider, and riding setting without overcomplicating the shot.
Why Video Setup Matters for Mini Bike Riders
Mini bike videos help other riders understand size, sound, riding feel, and real outdoor use better than a spec table alone. For shoppers, a clear riding clip can answer practical questions: how big does the bike look under a rider, how does it start, how does it turn, and what kind of space does it need?
For FRP owners, good video also helps the community. A clean clip can become a rider story, a social post, a product-use example, or a support reference when the video shows a question clearly.
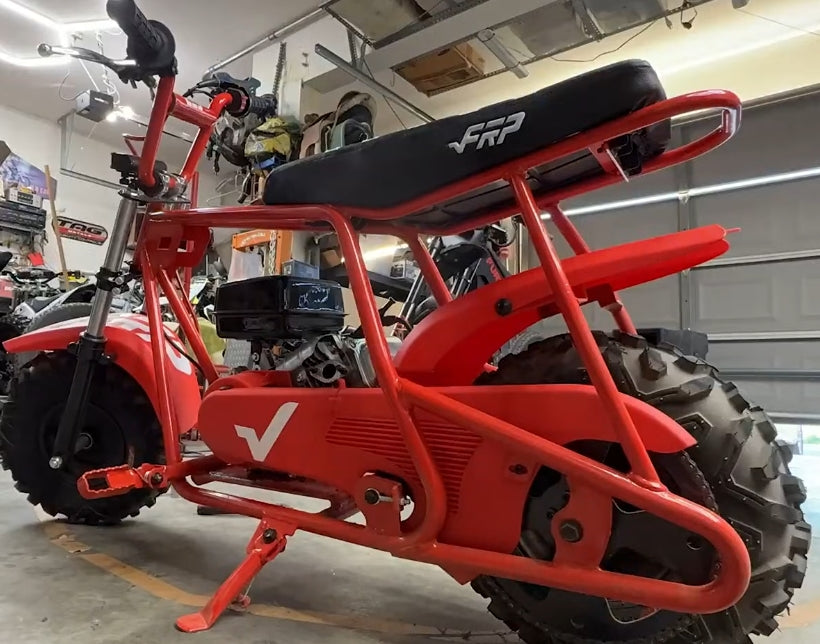
What it feels like: the best riding video does not feel staged. It feels like a friend showing the bike honestly in the kind of space where real owners ride: a backyard, field, campsite, driveway-to-yard setup, or other allowed private-property area.
Before You Film: Set the Riding Area First
Do not start with the camera. Start with the riding area. Choose a place where riding is allowed, where there is no public traffic, and where the rider can stay away from people, pets, parked vehicles, and hard obstacles.
- Use private property or a controlled off-road area where riding is allowed.
- Keep the route simple: start, turn, pass camera, stop.
- Remove loose objects, tools, toys, and trip hazards.
- Film in daylight when the bike and rider are easy to see.
- Keep spectators away from the riding path.
If the rider is new, use the backyard mini bike ride setup checklist before filming. A controlled ride is better content than a rushed one.
The 5 Shots That Make a Mini Bike Video Useful
| Shot | What to Show | Why It Helps |
|---|---|---|
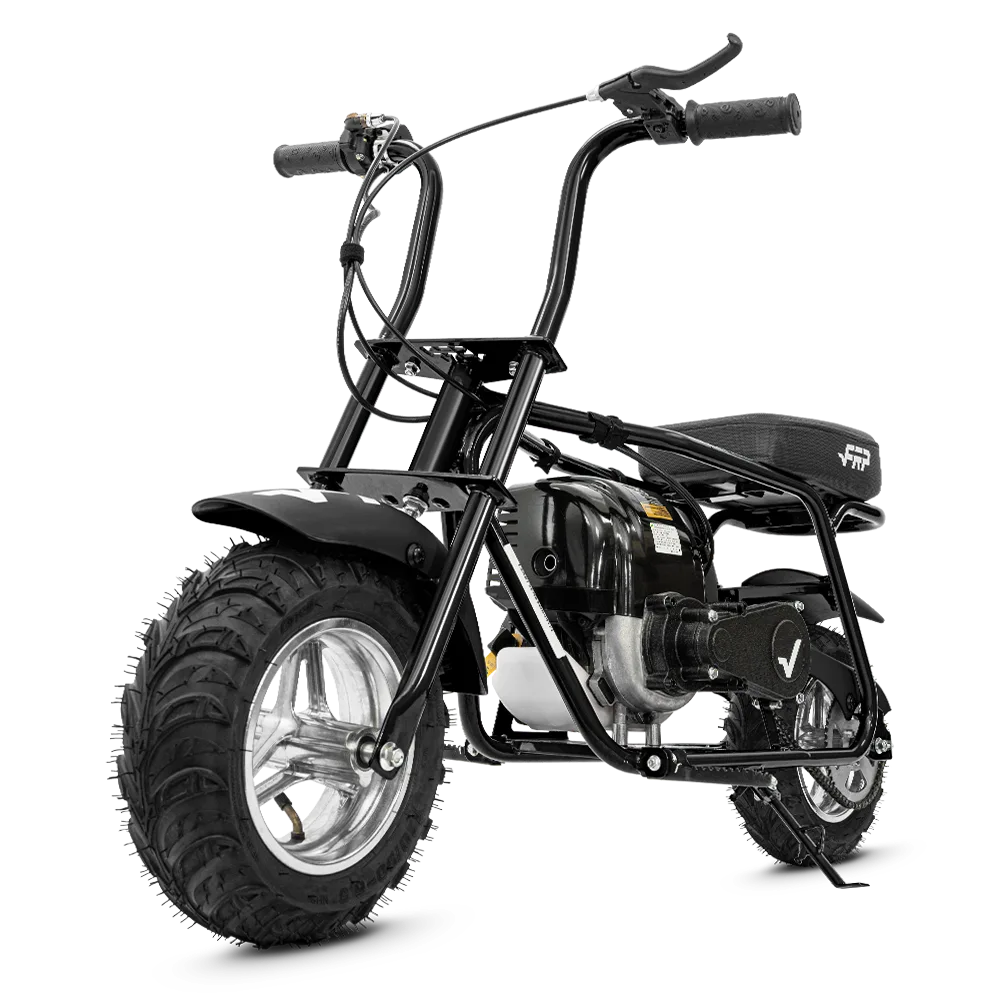
| Full bike walkaround | Bike color, side profile, seat, tires, handlebar, engine area | Shows the model clearly before the ride starts |
| Rider fit | Rider sitting or standing beside the bike with gear on | Helps shoppers understand real size and stance |
| Start and idle | Bike starting and idling without camera movement | Shows sound and basic running behavior |
| Slow pass | Rider moving past the camera at controlled speed | Shows riding feel without unsafe framing |
| Stop and turn | Rider slowing, turning wide, and stopping calmly | Shows control, not just motion |
Phone Mount or Action Camera: Which Is Better?
A phone works well for simple walkaround shots, stationary shots, and short owner clips. An action camera can be better when you want a mounted riding angle, but it still needs to be secure, stable, and placed where it does not block controls or distract the rider.
If you use a handlebar phone mount, check the mount before every ride. The device should not interfere with throttle, brake, cables, steering, or the rider's hands. FRP owners can review options like the FRP Classic Phone Mount or FRP Limited Edition Crab Phone Mount when they want a cleaner filming setup.
Do not film in a way that encourages unsafe riding. The camera should support the ride, not become the reason the rider takes unnecessary risks.
Best Camera Angles for FRP Mini Bike Videos
Stationary side angle
Place the camera safely off the riding path and let the rider pass through the frame. This is usually the clearest angle for showing the full bike.
Three-quarter front angle
This angle shows the headlight area, front tire, frame, and rider posture. It works well for slow riding clips and product-style videos.
Handlebar angle
A mounted camera can show the rider's view, but it should never block controls or distract the rider. Keep mounted clips short and stable.
Walkaround angle
A walkaround is useful before riding because it shows the bike color, setup, accessories, and condition. Keep it slow and avoid spinning the camera too quickly.
What FRP Can Use From a Community Video
FRP can review rider clips more easily when the video answers basic questions without extra explanation. The most helpful videos usually include:
- The FRP model name if known
- The riding area type, such as backyard, field, or private property
- The rider wearing visible protective gear
- A clear view of the bike body and color
- Short riding clips with controlled starts, turns, and stops
- No public-road riding, unsafe behavior, or unclear location
For the submission side, use the official community answer: How can riders get their FRP mini bike video featured by FRP Moto?
Mini Bike Video Checklist
- Clean the lens: dusty video looks low quality even with a good camera.
- Use daylight: avoid filming into harsh sun or deep shadow.
- Frame the full bike: do not cut off wheels, handlebar, or rider head.
- Keep clips short: several clear clips are better than one shaky long clip.
- Show control: include starting, slow riding, turning, and stopping.
- Keep audio natural: avoid music if the engine sound or product behavior matters.
- Review before sending: make sure the clip shows the bike and does not include unsafe context.
FAQ
How do I film a mini bike riding video?
Use a safe private-property or allowed off-road area, place the camera away from the riding path, film in daylight, and capture short clips of the bike starting, passing, turning, and stopping.
Can I use a phone mount on a mini bike?
Yes, if the mount is secure and does not interfere with steering, throttle, brakes, cables, or rider attention. Check the mount before riding.
What kind of mini bike video is best for FRP to review?
A clear video showing the full FRP bike, rider gear, private-property riding area, and controlled riding is easier to review than a shaky or stunt-focused clip.
Should I include engine sound in the video?
Yes, when possible. Natural audio can help viewers understand starting, idle, and riding feel. Avoid covering useful sound with music if the video is meant to show the bike clearly.
Where should I send an FRP riding video?
Follow FRP's current community instructions or support guidance. The community answer on getting featured explains what details to include before FRP reviews a clip.
Related FRP Resources
Final Takeaway
A good FRP mini bike video does not need to be complicated. Show the bike clearly, ride in a controlled area, keep the camera stable, and make the clip useful for real riders who want to understand the bike before they buy or share their own story.