
太长不看
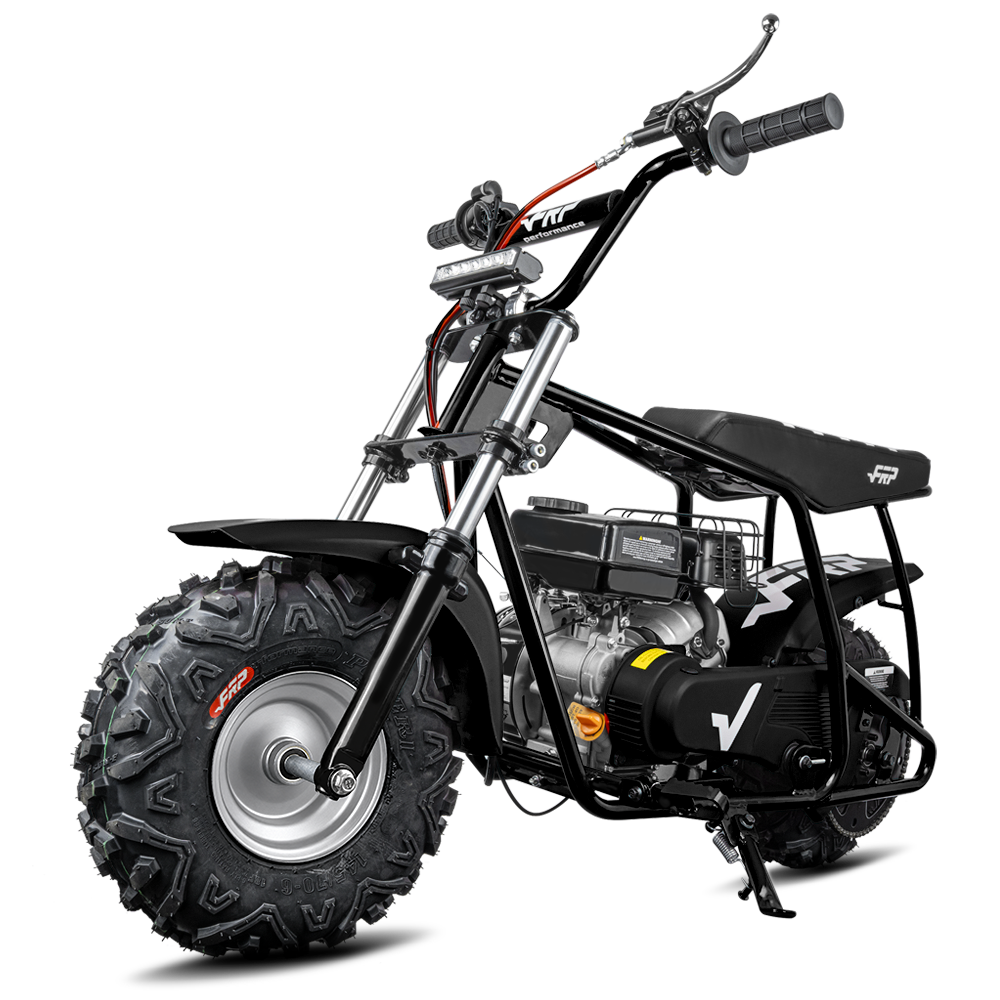
第一次更换145/70-6迷你摩托车轮胎大约需要45分钟,之后每次只需20分钟。后轮更换难度更大,因为链条、链轮和碟刹都需要拆卸。最容易出错的两个步骤是:撬开坚硬的6层无内胎胎体的胎唇,以及重新安装胎唇——这两个步骤都可以在家使用棘轮带和气门芯工具解决,无需使用轮胎拆装机。按照FRP的说明书,将冷胎气压调整至10 psi。如果新轮胎上有旋转箭头,请在装回车轮前检查旋转方向。不想费力撬胎唇?那就订购一个已安装好的轮胎组件,这样就只需要拧四个螺栓了。
你需要什么
 选购 GMB100 车轮和驱动部件 →
第一步:取出车轮
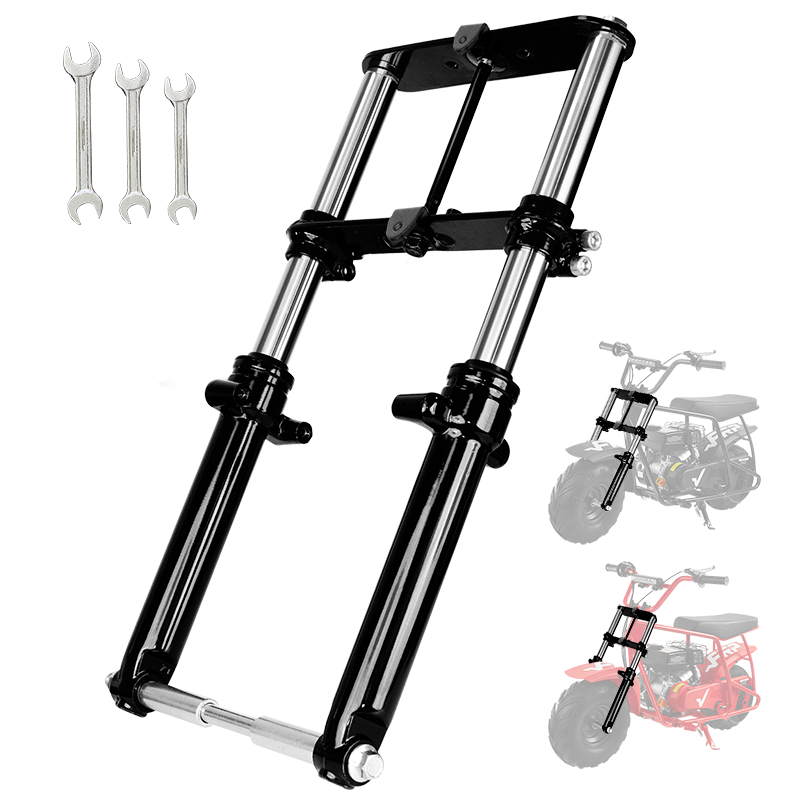
前轮。支撑自行车,使前轮离地,握住轴头,然后拧松另一侧的螺母。轴会滑出,车轮掉落。注意拆卸垫片的顺序——两侧的垫片位置并不总是相同的,如果垫片位置错误,会导致车轮与车架错位。
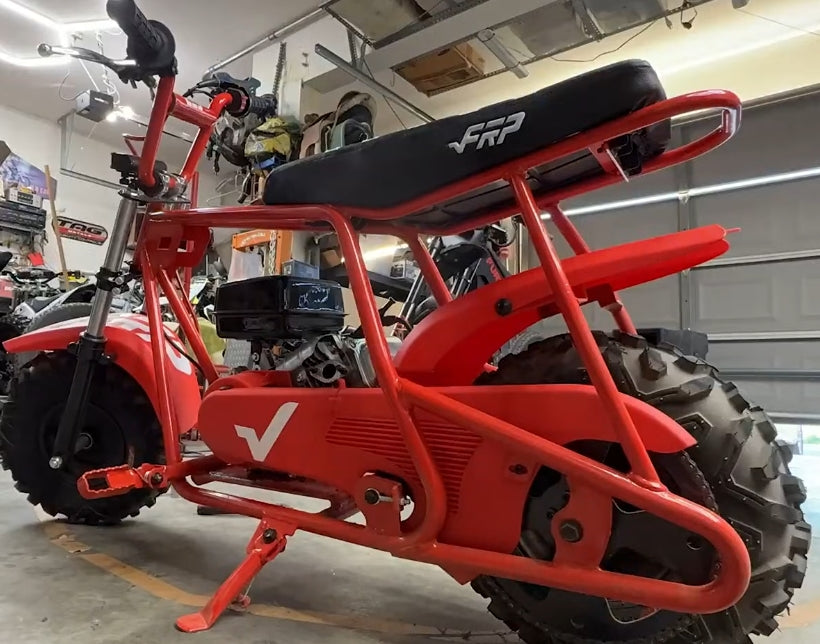
后轮。还有更多步骤。先松开调节器上的链条张力,将链条从链轮上取下,然后拧下刹车卡钳支架的螺栓,这样刹车盘就可以滑出,而不是抵住刹车片。然后,轴螺母的拆卸方法与前轮相同。开始之前最好拍张照片——后轮垫片的顺序是最常见的组装错误,装错垫片会导致链条对齐和刹车盘位置都错位。
步骤二:打破珠子
6层无内胎胎体紧紧地贴合在轮辋上,这也是大多数家庭换胎失败的原因。首先要将轮胎完全放气,并取出气门芯,确保没有任何东西能阻止空气进入。将车轮平放,沿着轮胎圆周向下按压胎壁,使其远离轮辋边缘。
如果用手拧不动,可以用棘轮带:将棘轮带绕轮胎一周,收紧,胎体就会向内挤压,将胎唇从胎座上拉出来。用C型夹夹住木块也能起到同样的作用。千万不要用锤子敲击胎壁——那样只会损坏轮辋,而不会造成其他损伤。
第三步:辞旧迎新
With both beads broken, lever the tire over the rim edge in short bites, keeping the opposite side pressed down into the rim's centre channel. That channel is what makes the job possible — if the far side of the tire is sitting up on the rim shoulder, no amount of leverage will get the near side over.
Clean the rim edge before the new tire goes on. Old rubber residue and dirt on the sealing surface is the reason a "new" tubeless tire leaks slowly for a week. Soapy water on both beads, then work the new casing on the same way, opposite side in the channel.
Step 4: The Direction Arrow — Check It Before It Goes Back In
Street treads for mini bikes are directional. The V-grooves are cut to push water and grit outward as the wheel turns one specific way, and there is a rotation arrow moulded on the sidewall to tell you which. Fit it backwards and the pattern still looks right at a glance, but it channels water inward instead of out, which is exactly the grip you were buying the street tire for.
The trap: a front wheel refitted from the other side of the bike rotates the opposite way. Swap a wheel left to right and a correctly mounted directional tire becomes a backwards one without anybody touching the tire.
Aggressive knobby treads are directional too, in the other sense: the lug pattern is designed to bite driving forward on the rear wheel. Check the arrow, every time, before the axle goes in.
 Shop the FRP x SunF Street Tire →
Step 5: Seat the Bead and Set Pressure
With the valve core still out, air enters quickly enough to push both beads outward until they pop onto their seats — that is the sound you are waiting for. If the tire just hisses air straight back out, run the ratchet strap around the circumference again to squeeze the casing so the beads move outward, then inflate.
Once seated, fit the valve core, inflate, and set pressure with the tire cold. FRP's GMB100P manual specifies 10 psi for normal operation and warns against inflating while the engine is running. Spray the bead line with soapy water and look for bubbles before you call it done.
Step 6: Reassembly Checks Nobody Should Skip
- Spacers back in original order, both sides — this is what keeps the wheel centred in the frame.
- Chain slack about 1/2 inch of vertical movement at the midpoint between sprockets, per the FRP manual. Too tight destroys bearings; too loose throws the chain.
- Caliper refitted and the disc running clean between the pads. Spin the wheel and listen.
- Axle nuts to full torque, and re-check them after the first ride. New rubber settles and fasteners find their seat.
- Pressure re-checked cold the next day. A freshly mounted tubeless bead can weep slightly for the first day; a drop of more than a psi or two means the seal is not finished.
Watch Somebody Else Do It First
If you have never had a mini bike wheel apart, this is worth 19 minutes before you start. John Wheels takes a 145/70-6 mini bike wheel off, changes the tire, and greases the wheel bearings while it is out — which is the right moment to do it, and the step most people skip:
Mini bike tire change plus wheel bearing service — John Wheels, independent rider video
One thing to add to what the video shows: while the wheel is out and the bearings are exposed, check the bead seat on the rim for dings. That surface is what makes a tubeless tire hold air, and a bent lip is the reason some "new tire" installs never stop leaking.
The Shortcut: Buy It Mounted
Everything above is the bead-wrestling version. The alternative is to skip steps 2 through 5 entirely: a mounted street tire assembly arrives on the rim, front, rear, or both, and turns the whole job into removing one wheel and bolting the next one on.
Riders who run two surfaces keep both sets — knobbies for weekend dirt, street wheels for the week. A wheel swap takes minutes; a tire change does not. Full replacement wheel sets, axle hardware, and brake parts for the platform live in GMB100 parts.
FAQ
How long does it take to change a mini bike tire?
Budget 45 minutes for your first front wheel and closer to an hour for a first rear, because the chain, caliper and spacers all come apart. Once you know the sequence, either end is a 20-minute job. Swapping a pre-mounted assembly is under 10 minutes.
Can I change a 145/70-6 tire without a tire machine?
Yes. A ratchet strap around the tire's circumference breaks the bead, and the same strap re-seats it during inflation with the valve core removed. Tire levers, soapy water and patience do the rest. The rim's centre channel is what makes it possible — always keep the opposite bead pushed down into it.
Do mini bike tires have a direction?
Street treads do — there is a rotation arrow on the sidewall, and the directional V pattern only channels water outward when it is fitted the right way round. Watch out when a wheel gets refitted on the opposite side of the bike, because it then turns the other way.
What pressure after fitting a new tire?
10 psi cold, per the FRP GMB100P manual for 145/70-6 pneumatic tires. Check it again the next day: a newly seated tubeless bead sometimes weeps for the first few hours, and a loss of more than a psi or two means the seal needs another look.
Should I replace the tire or the whole wheel?
Replace the tire if the rim is straight and the bearings spin smoothly. Replace the wheel set if the rim is bent, the bead seat is damaged, or the bearings feel notchy — a bent rim will never hold a tubeless seal reliably no matter how good the new tire is.
选购所需零件: 145/70-6 的公路胎或全地形胎、螺栓固定式组件,或GMB100 驱动系统的轮组和轴硬件。不确定哪种胎纹适合您的自行车?请阅读公路胎与越野胎的对比,或在迷你自行车轮胎尺寸指南中查看尺寸和胎压。想浏览整车而非零件?FRP 迷你自行车系列在此。