TL;DR
- Do not choose a mini bike seat by length or color alone.
- Check the seat pan, mounting points, frame hump, and rider position first.
- A softer-looking seat is not always more comfortable after a real ride.
- A spring seat kit can help comfort, but only when the fitment path is right.
- A seat cover is worth considering when the base seat is solid but the surface is worn, slippery, or the wrong color.
- For a white GMB100-style seat, a cover can work better than guessing on a random seat.
Quick Answer
A mini bike seat fits only when the seat pan, mounting holes, frame clearance, bracket height, and rider position match the bike. If the base seat is still solid, a cover can fix grip, surface wear, or color. If the foam is collapsed or the pan is weak, choose a replacement seat or spring seat kit instead.

Mini bike seat fitment depends on the underside of the seat, not just the top shape, color, or length. A seat can look close online and still miss the mounting holes, sit wrong on the frame, hit a hump, change rider position, or feel worse than the stock setup.
That is why mini bike seat fitment needs a little more thinking than "will this seat fit my bike?" The better question is: does the seat fit the frame, the mounting points, the rider, and the way the bike will be used?
This guide keeps the decision practical. It covers replacement seats, FRP-style seat fitment, MM80-style seat comparisons, GMB100 frame customization, white seat cover ideas, and when a spring seat kit makes more sense than another flat seat.
Short Answer: How Do You Know If a Mini Bike Seat Will Fit?
A mini bike seat is more likely to fit when the seat pan shape, bolt pattern, mounting brackets, frame clearance, and rider position all match the bike. Length and width matter, but they are not enough. The underside of the seat usually decides whether the swap is easy, frustrating, or not worth doing.
Before buying, compare these five things:
- Seat pan shape: the bottom of the seat must sit cleanly on the frame or mounting bracket.
- Mounting holes: bolt spacing should match or have a safe bracket path.
- Frame hump clearance: some frames rise under the seat, while some seats are flatter.
- Rider position: seat height, foam, and slope change how the rider reaches the bars and pegs.
- Use case: a show-style seat, comfort seat, and spring seat setup solve different problems.
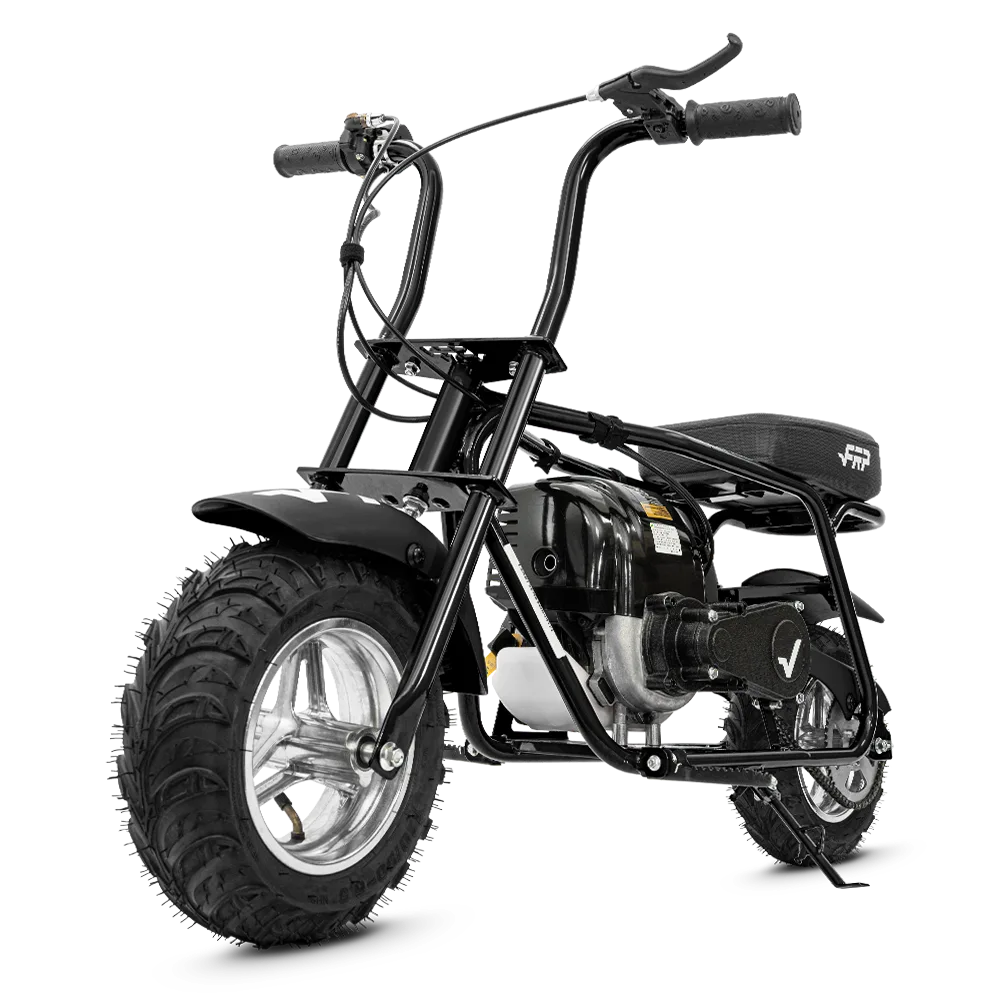
If you want a supported FRP Moto parts path, start with model-specific accessories like the FRP Mini Bike Ribbed Gripper Seat or the FRP Spring Seat Modified Kit, then confirm fitment against your exact model or frame setup before ordering.
Why Mini Bike Seats Are Harder to Swap Than They Look
Mini bike seats are not universal in the way riders sometimes hope. Two seats can have similar length and still fit completely differently because the base, brackets, foam shape, and frame contact points are different.
This matters even more on custom builds. A GMB100-style frame, an MM80-style seat, a Motovox-style project, and a random marketplace seat may all look like they belong to the same mini bike universe. That does not mean the bolt pattern, seat pan, or frame shape matches.
The most common mistake is buying a seat because it looks close from the top. The top tells you color, texture, and cushion shape. The underside tells you whether the seat can actually mount to the bike.
Seat Pan, Mounting Holes, and Frame Hump: The Three Fitment Checks
If you only remember one section, make it this one. Seat fitment usually fails in one of three places.
1. Seat pan shape
The seat pan is the hard base under the foam and cover. It needs to sit squarely on the frame or bracket. If the pan rocks, twists, or contacts only one small area, the seat can feel unstable and may stress the mounting points.
2. Mounting holes and brackets
Measure the mounting hole spacing before assuming a seat will bolt on. If the holes do not match, the safe answer is usually a proper bracket or model-specific part path, not drilling random holes until something lines up.
3. Frame hump clearance
Some mini bike frames have a raised section under the seat. Some seats are flatter. That difference matters. A flat seat can look clean on top but sit poorly if the frame underneath has a hump or bracket shape that the seat was not designed around.
Mini Bike Seat Compatibility and Measurement Table
Use this table before ordering a replacement seat, MM80-style seat, spring seat kit, or custom cover material. It does not replace model-specific fitment confirmation, but it gives you the right measurements to collect before you buy.
| Fitment item | What to measure or check | Why it matters |
|---|---|---|
| Seat length | Measure the full seat from front nose to rear edge. | A seat that is too long can hit the rear fender, tire area, or frame end. |
| Seat width | Measure the widest point and the front narrow section. | Width affects comfort, rider movement, and whether the seat looks right on the frame. |
| Mounting hole spacing | Measure center-to-center distance between mounting holes or bracket slots. | This is the most common reason a similar-looking seat will not bolt on. |
| Seat pan shape | Look at the underside: flat, stepped, curved, ribbed, or bracketed. | The pan must sit securely on the frame or bracket without rocking. |
| Frame hump clearance | Check whether the frame rises under the seat area. | A flat seat may not sit cleanly over a raised frame section. |
| Bracket height | Compare stock bracket height with the new seat or spring kit height. | Changing height changes rider reach to bars and foot placement. |
| Rear clearance | Check fender, tire, and rear frame clearance with rider weight on the seat. | A seat that clears while parked may still contact parts when the rider sits down. |
| Rider triangle | Check seat-to-bar and seat-to-peg distance after the seat is installed. | Comfort depends on body position, not just cushion softness. |
For FRP Moto owners, the safest order is simple: confirm your model, compare the part page, measure the stock seat and mounting points, then dry fit before riding. Do not drill, bend brackets, or force the seat down just to make a part work.
Can You Put an MM80-Style Seat on an FRP Moto Mini Bike?
Only if the pan, bolt spacing, bracket path, frame clearance, and final rider position match. Riders often compare MM80-style seats with FRP Moto-style mini bike seats because the bikes are visually close and the seat size can look similar, but visual similarity does not prove fitment.
If you are testing an MM80-style seat on an FRP Moto-style mini bike, do a dry fit first. Set the seat on the frame without forcing it. Check whether it sits flat, whether the mounting points line up, whether the rear of the seat clears the fender or tire area, and whether the rider position still feels natural.
If any of those checks feel wrong, stop there. A seat that has to be forced into place is usually not a good seat for that frame.
Why Your Mini Bike Seat Hurts After Riding
Seat pain is not always caused by a bad seat. It can come from foam, riding position, vibration, tire pressure, terrain, or the bike being too small or too stiff for the rider.
Start with the simple causes:
- Foam is too thin: the seat bottoms out quickly and the rider feels the pan.
- Foam is too soft: it feels comfortable at first, then collapses during a longer ride.
- Seat is too narrow: pressure lands in the wrong place for the rider.
- Riding posture is cramped: the rider carries too much weight on the seat.
- Bike vibration is high: the seat is absorbing more engine and terrain feel than expected.
A better cover may help appearance and grip, but comfort often needs a better support setup. That may mean a better replacement seat, a gripper-style seat, a spring seat kit, or a different bike setup entirely.
When a Spring Seat Kit Makes Sense
A spring seat kit is for riders who want more comfort and a more classic custom mini bike feel. It is not the answer for every bike, but it can make sense when the rider wants more vibration absorption and is willing to check bracket fitment carefully.

The FRP Spring Seat Modified Kit is the product path to consider when the goal is more than a new cover. A spring setup changes how the seat is supported, so the fitment check matters even more. Before installing any spring seat kit, confirm the front mount, spring location, frame clearance, and final seat height.
Do not use a spring kit to hide a loose seat or weak bracket. The mounting points still need to be solid. A comfort upgrade should make the bike feel more controlled, not more flexible or rattly.
Spring Seat Kit Pre-Install Checklist
- Confirm the bike or frame: make sure the kit is intended for your FRP model or custom frame path.
- Inspect the front mount: the front pivot or bracket area must sit square and secure.
- Check spring location: springs should not contact the tire, fender, chain, exhaust, or rider.
- Check final seat height: added height can change how easily the rider reaches the bars and ground.
- Tighten all hardware: use the correct fasteners and recheck after the first short ride.
- Stop if it rattles or shifts: movement means the mounting path needs correction before riding.

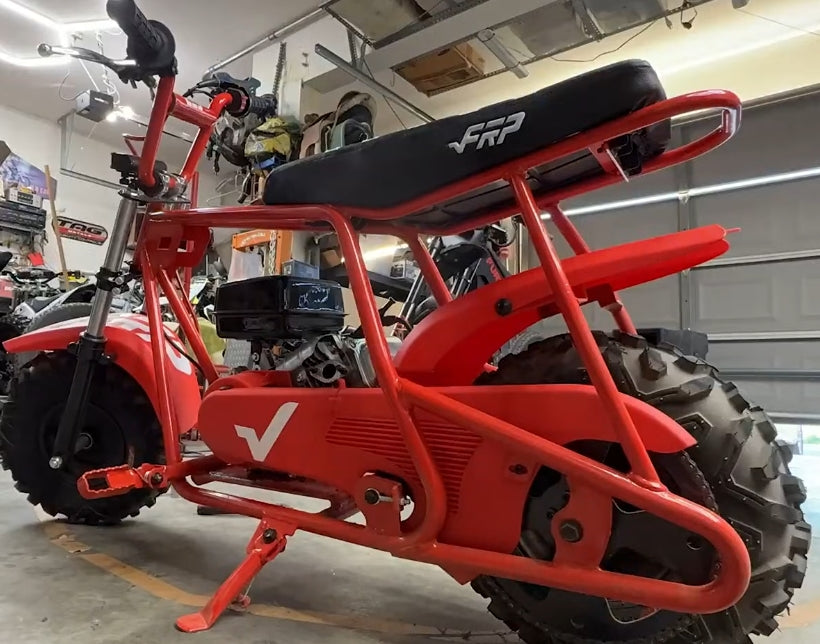
How to Make a White Seat for a GMB100 Frame
A white seat can look sharp on a custom GMB100 frame build, especially if the bike has a strong color theme. The cleanest path is often not buying a random white seat. It is covering a seat that already fits.
If your current seat fits the frame well, a white vinyl or marine-grade vinyl cover can give the visual change without creating a new mounting problem. The basic idea is simple: remove or loosen the seat, wrap the cover material over the foam and pan, pull it evenly, and staple or fasten it securely underneath.
For material, choose outdoor vinyl or marine-grade vinyl before fashion fabric. White leather-look vinyl is easier to wipe clean than cloth, but it still shows mud, oil, and chain grime faster than black. If the foam is torn, wet, collapsed, or uneven, fix the seat structure first instead of covering a bad base.
Keep the practical details in mind:
- Use outdoor-friendly material that can handle moisture and dirt.
- Do not cover or block the mounting points.
- Pull the material evenly so it does not wrinkle where the rider sits.
- Check that staples or fasteners do not point toward the rider or frame.
- Expect white material to show dirt faster than black.
A simple staple pattern works best when the seat pan accepts staples safely: start at the front and rear center points, then work side to side in small sections while keeping the cover tension even. Do not staple through visible top material, and do not place fasteners where they can rub the frame, fuel tank area, wiring, or rider.
If the seat already hurts, a new cover alone may not fix the problem. Treat a cover as a style change. Treat foam, seat shape, or a spring kit as comfort changes.
Replacement Seat, Seat Cover, or Spring Kit?
If the stock seat still mounts solidly and the foam has not collapsed, a seat cover can be the cheaper first fix. It can improve grip, hide worn vinyl, change color, and make the bike look cleaner without creating a new fitment problem.
If the seat pan is bent, the foam is flat, the rider feels the hard base, or the bike still feels uncomfortable after a short ride, replacing the full seat usually makes more sense than covering the same weak structure. A cover changes the surface. A replacement seat or spring kit changes support.
| Rider problem | Best first path | What to check |
|---|---|---|
| The seat is worn or slippery. | Ribbed gripper seat or new cover. | Surface grip, pan fit, and mounting points. |
| The seat hurts after riding. | Comfort-focused replacement or spring kit. | Foam support, rider position, vibration, and frame fit. |
| The rider wants a white seat. | Cover a seat that already fits. | Material, staple path, mounting clearance, and dirt visibility. |
| The bike is a custom frame build. | Dry fit before buying or drilling. | Seat pan, brackets, frame hump, tire/fender clearance. |
| The rider wants a classic spring-seat look. | Spring seat modified kit. | Front mount, spring position, seat height, and solid hardware. |
FRP Seat and Frame Paths to Check First
If you own an FRP Moto mini bike or are building around an FRP Moto frame, start with the FRP Moto ecosystem before guessing on universal parts. Check the FRP Mini Bike Ribbed Gripper Seat for a replacement-style path, the FRP Spring Seat Modified Kit for comfort and custom support, and the FRP GMB100 Frame if the question is part of a larger build.
If you are choosing a complete bike instead of building, compare the FRP GMB100, FRP GMB100P, and FRP GMB100U first. A seat upgrade is easier when the base bike already fits the rider and the riding style.
For support and model resources, use FRP replacement parts, FRP Community Answers, and FRP Moto Videos & Tutorials. There is no need to force an unrelated video into a seat article; use official videos for model context and seat-specific parts pages for the actual fitment decision.
FAQ
Are mini bike seats universal?
No. Mini bike seats are not truly universal. Seat length and width are only part of the fit. You also need to check the seat pan, mounting holes, frame clearance, brackets, and rider position.
Can an MM80-style seat fit an FRP mini bike?
It may fit some setups, but do not assume it will bolt on. Compare the underside of the seat, bolt spacing, frame hump clearance, and final rider position before using an MM80-style seat on an FRP-style mini bike.
Can you buy just the seat for an FRP mini bike?
Some FRP seat upgrades and replacement-style seat parts are sold separately, but riders should still match the part to the exact bike or frame. Before ordering, check the model, seat pan shape, mounting holes, bracket path, and rear clearance instead of assuming every mini bike seat is universal.
Is a mini bike seat cover worth it instead of replacing the whole seat?
A seat cover can be worth it when the original seat base and foam are still solid and the problem is grip, surface wear, or color. If the foam is collapsed, the pan is weak, or the seat shape hurts after riding, a full replacement seat or spring seat kit is usually the better fix.
Why does my mini bike seat hurt after riding?
The seat may have thin foam, soft foam that collapses, poor width, a cramped riding position, or too much vibration from the bike. A cover can improve appearance, but comfort may require better foam support, a replacement seat, or a spring seat kit.
How do I make a white seat for a GMB100 frame?
If the existing seat already fits well, a white vinyl or marine-grade vinyl cover is often the cleanest path. Wrap the material evenly, secure it under the seat pan, and keep mounting points clear.
Is a spring seat kit better than a regular mini bike seat?
A spring seat kit can improve comfort and add a custom look, but only if the mounting path is solid and the final seat height works for the rider. It is a comfort and build-style choice, not a fix for poor fitment.
What should I measure before buying a mini bike seat?
Measure seat length, width, mounting hole spacing, bracket location, frame clearance, and the distance from the seat to the bars and pegs. If the bike has a frame hump or custom brackets, dry fit before drilling or riding.
What should I check before installing a mini bike spring seat kit?
Confirm the bike or frame path, inspect the front mount, check spring location, confirm tire and fender clearance, and make sure the final seat height still lets the rider reach the bars and ground comfortably.