Your cart is empty
return to shop
TL;DR:
- Change oil every 20–25 hours of use; first change should happen after the first 5 hours (break-in oil).
- Clean or replace air filter every 10–15 hours; inspect before every session in dusty conditions.
- Check and adjust chain tension every 5–10 hours; a loose chain is the most common mechanical issue.
- Drain the carburetor float bowl before any storage over 30 days — prevents the most common start-up problem.
- Full pre-ride checklist takes 3 minutes and prevents the majority of avoidable breakdowns.
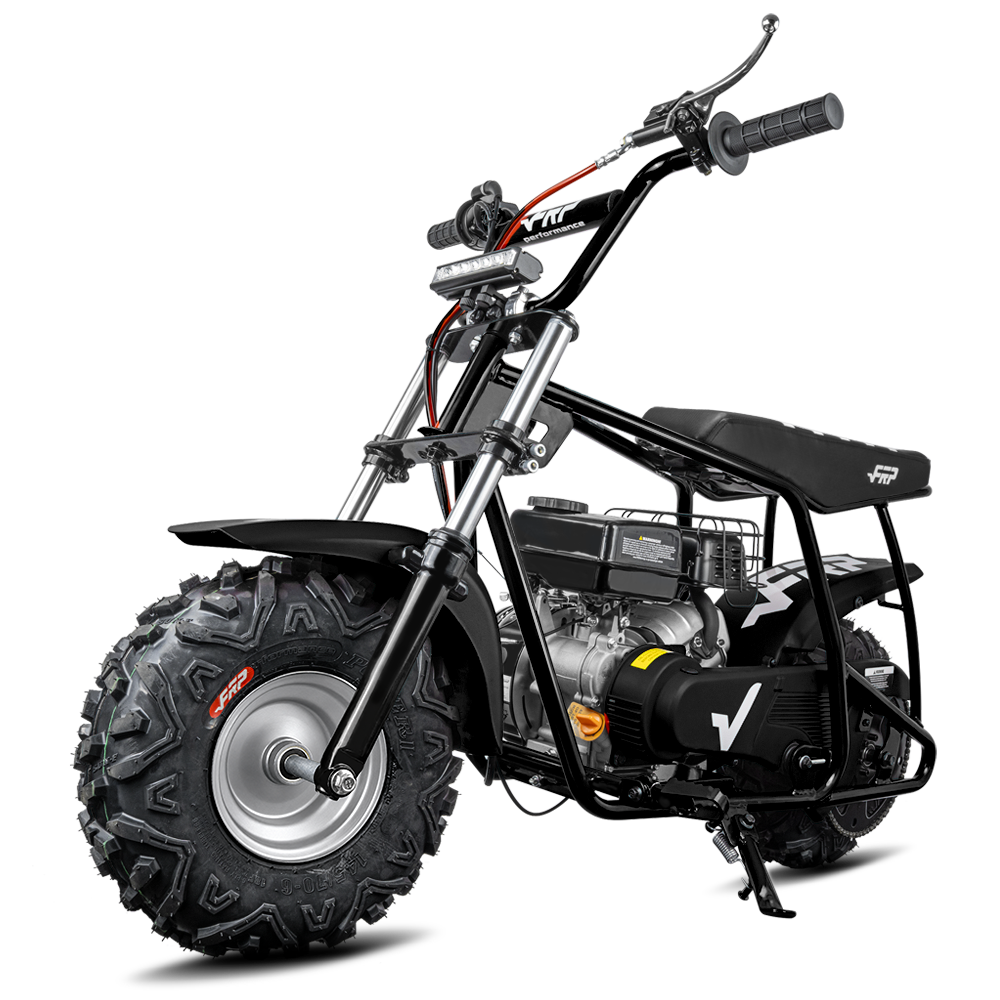
Most mini bike problems are preventable. The bikes that "just break" almost always share the same history: stored with ethanol fuel in the carburetor, chain never checked, air filter never cleaned, oil changed twice in three years. The GMB100's 99cc engine is not complex — it has fewer than 30 moving parts. A consistent maintenance routine keeps it running without surprises.
This guide gives you the exact schedule by hours, the pre-ride checklist, and the storage procedure that prevents 90% of the issues riders bring to the shop after winter.
The current FRP GMB100P owner manual recommends SAE 15W-40 four-stroke engine oil for most climates and lists an approximate oil capacity of 0.35 L. Use the model-specific manual and dipstick as the final authority because ambient temperature and engine configuration matter.
What does a full mini bike maintenance schedule look like?
| Interval | Task | What to Check / Do | Cost |
|---|---|---|---|
| Before every ride | Pre-ride check | Tire pressure, chain tension, brake function, fuel level, kill switch test | Free |
| After first 5 hours | Break-in oil change | Drain factory mineral oil; fill with 15W-40 semi-synthetic | $8–$15 |
| Every 5–10 hours | Chain inspection and adjustment | Check tension (½" slack); lubricate if dry; adjust at axle if stretched | $5–$10 (lube) |
| Every 10–15 hours | Air filter cleaning | Remove foam element; tap out dust; re-oil if oiled type; replace if torn | $0–$12 |
| Every 20–25 hours | Oil change | Drain warm oil; replace drain plug washer; fill to correct level | $8–$15 |
| Every 25 hours | Spark plug inspection | Check gap (0.028–0.031"); replace if electrode eroded or fouled | $3–$6 |
| Every 50 hours | Carburetor clean | Remove and clean jets and passages; inspect float needle; rebuild if needed | $0–$12 |
| Every season | Full inspection | Wheel bearings, brake pads/cable, throttle cable, all fasteners, frame welds | $0–$30 |
| Before storage | Storage prep | Drain carb float bowl; fog cylinder (optional); top off fuel with stabilizer or drain tank | $5–$10 |
If you ride 1–2 hours per session, "every 25 hours" means approximately 12–15 riding sessions. For most recreational riders, that is one summer of regular use. Tracking hours is easier than tracking sessions — a simple hour meter that mounts to the handlebars costs $10–$20 and removes all guesswork.
How do you change the oil on a mini bike?
An oil change on the GMB100's 99cc engine takes about 10 minutes and requires a drain pan, the correct oil (15W-40), and a socket wrench for the drain plug. The exact procedure:
- Warm the engine first. Run it for 2–3 minutes. Warm oil flows out more completely than cold oil, carrying more contaminants with it.
- Position a drain pan under the engine. The drain plug is on the bottom of the engine block — a bolt with a copper or aluminum crush washer.
- Remove the drain plug and let oil drain completely (2–3 minutes). If the washer is damaged or compressed flat, replace it — they cost $0.50 each and a leaking drain plug creates a hazard.
- Reinstall the drain plug snugly. Do not overtighten — the threads are in aluminum and will strip.
- Remove the oil filler cap (usually on the side of the engine) and fill with 15W-40 semi-synthetic or conventional oil. The GMB100 takes approximately 0.35 L (about 11.8 fl oz). Add slowly and check the dipstick or sight glass if present.
- Run the engine for 1 minute and check for leaks at the drain plug. Check oil level again after the engine has been running briefly.
Oil capacity varies slightly by engine batch. Always check the actual fill level rather than going by volume alone.
How do you adjust the chain on a mini bike?
A correctly tensioned chain should have approximately ½ inch (12mm) of vertical slack at the midpoint between the sprockets. Too tight causes premature bearing and sprocket wear. Too loose risks the chain jumping off the sprocket, which can damage the engine casing and rear wheel area.
To adjust chain tension on the GMB100:
- Loosen the axle nuts on both sides of the rear wheel (do not remove them — just break the torque).
- Loosen the chain tensioner bolts (usually a pair of bolts at the rear dropout or swingarm end).
- Slide the rear axle rearward in the dropout slots to increase tension. Move evenly on both sides — uneven adjustment causes the wheel to run crooked, which accelerates chain and sprocket wear and creates handling issues.
- Check tension at the midpoint of the chain. It should deflect approximately ½ inch with finger pressure.
- Retighten axle nuts to proper torque (18–22 ft-lbs for most mini bike axle nuts). Check wheel alignment — the tire should track straight between the frame rails.
- Spin the wheel by hand and verify the chain moves smoothly through the full rotation without tight spots. If there are tight spots, the chain is kinked or the sprocket is worn unevenly.
Chain lubrication: apply a light coat of chain lube or clean motor oil with a rag to the inner links every 5–10 hours. Do not over-lubricate — excess lubricant attracts dirt and forms an abrasive paste. The chain should look lightly coated, not dripping.
GMB100 Parts for Maintenance

GMB100 Parts Catalog
Tubes, filters, chains, and service components
OEM-compatible parts for the GMB100 platform. Air filters, spark plugs, carb rebuild kits, and chains mapped to GMB100 compatibility.
View Parts →
FRP Moto GMB100 — $379
99cc · Serviceable by owner in under 30 min
The GMB100's simple 99cc engine and standard clone parts make it one of the most owner-serviceable mini bikes in its class.
View GMB100 →What should you check before every ride?
A pre-ride inspection takes 3 minutes. Do it every time — the issues it catches are most likely to cause problems mid-session when fixing them is inconvenient.
- Tire pressure: Check with a gauge. Target 12–18 PSI depending on rider weight (lighter riders run lower, heavier riders higher). An under-inflated tire causes sluggish handling and increases flat risk. See the tire pressure guide for the full PSI chart by rider weight.
- Chain tension: Quick visual check — the chain should not sag significantly below the lower sprocket run. If it looks visibly loose, adjust before riding.
- Brake function: Squeeze the hand lever with the bike in place. The rear wheel should lock or resist rolling with firm lever pressure. If the lever travels to the grip before resistance builds, adjust the cable at the brake lever end.
- Fuel level: Ensure enough fuel for the planned session. Running dry damages the carburetor float needle by allowing it to seat dry without the cushion of fuel.
- Kill switch test: Start the engine and confirm the kill switch stops it immediately. For bikes with a remote kill switch, test the remote range before a child rides.
- Visual frame check: 5-second scan for anything obviously loose, cracked, or disconnected. Footpeg mounts, handlebar clamp bolt, and chain guard are the most common items that work loose.
How should you store a mini bike to prevent carburetor problems?
The single most important storage step is draining the carburetor float bowl. Ethanol-blended gasoline (E10, which is the majority of US regular unleaded) breaks down within 30–60 days and leaves a varnish residue that clogs the pilot jet. The pilot jet orifice is approximately 0.4mm — barely larger than a human hair. One winter of sitting with ethanol fuel in the carb produces the classic symptom: starts, runs briefly, then dies at idle.
Pre-storage procedure:
- Turn the fuel petcock to OFF.
- Run the engine until it stalls from fuel starvation — this pulls fuel out of the carburetor passages.
- Remove the float bowl drain screw (bottom of the carb) and drain any remaining fuel into a rag.
- Optional: add fuel stabilizer to the tank and run the engine for 1–2 minutes to pull stabilized fuel through before draining. This protects the tank from moisture condensation over winter.
- Store with the air filter in place to prevent insects or debris from entering the carb throat.
- Store covered or indoors — UV exposure is the primary cause of tire sidewall cracking on stored bikes.
Riders who do this once after their first storage failure never deal with it again. The 5 minutes it takes to drain the carb is worth more than a 45-minute carburetor cleaning in spring. See the full carburetor cleaning guide if you already have a stored bike that won't start.
When should you replace parts rather than service them?
| Part | Service Life | Replace When |
|---|---|---|
| Air filter (foam) | 1–3 seasons | Torn, oil-soaked beyond cleaning, or disintegrating |
| Spark plug | 50 hours | Electrode gap worn beyond 0.035", fouled black, or cracked insulator |
| Chain | 2–4 seasons | Stretched beyond adjustment range, kinked links, rust that doesn't clean |
| Drive sprockets | 2–3 chains | Teeth hooked or shark-fin shaped (new chain skips on worn sprocket) |
| Brake cable | Varies | Frayed strands, housing kink that prevents cable from returning freely |
| Tires | 2–5 seasons | Deep sidewall cracks (visible into rubber), bead damage, or visible cord |
| Tube | As needed | Any puncture; patching is temporary, replacement is the correct fix |
| Carburetor | Indefinite if maintained | Cracked body, stripped jet threads, worn needle jet bore (uncontrolled richness) |
GMB100P Manual Maintenance Notes
The GMB100P manual gives several practical maintenance details that are worth making part of the normal checklist. Before every ride, inspect tire inflation and wear, visible damage, engine oil level, fuel level, fuel and oil caps, brake function, throttle return, leaks, nuts and bolts, and smooth handlebar movement.
For engine oil, the manual recommends SAE 15W-40 for most climates and lists oil capacity as 0.35 L. Check the dipstick before each ride, warm the engine before draining oil, and dispose of used oil at a certified drop-off location.
The manual also calls out the centrifugal clutch bushing: drip several drops of 10W30 motor oil onto the clutch hub area before and after each ride. Extended idling, heavy load, partial braking, or long partial-throttle riding can burn off clutch lubrication faster.
Frequently Asked Questions
How often should I change the oil on a mini bike?
Every 20–25 hours of use with 15W-40 semi-synthetic or conventional oil. Change immediately after the first 5 hours of use to flush the break-in mineral oil. For seasonal riders who use the bike 10–15 hours per summer, one oil change per season is typically sufficient. Always check the oil level before the first ride of each session — a low oil level means either a leak or excessive consumption, both of which should be investigated.
How tight should a mini bike chain be?
Approximately ½ inch (12mm) of vertical deflection at the midpoint between the front and rear sprockets. Check with finger pressure — the chain should move up and down this amount without resistance. A chain that is too tight binds and wears the rear axle bearings prematurely. A chain that is too loose risks jumping the sprocket during rapid acceleration or deceleration.
How do I clean a mini bike air filter?
Remove the foam filter element from the air filter housing. Tap it gently against a hard surface to dislodge loose dust. For light contamination, this is sufficient. For heavier dirt, wash in warm soapy water, rinse thoroughly, and allow to dry completely before re-installing. If the filter uses oil (typical for foam filters), re-apply a light coating of foam filter oil after drying. Never run the engine without the air filter installed — even brief operation without filtration lets abrasive particles enter the engine.
What oil should I use for a mini bike?
For the FRP GMB100 series, use SAE 15W-40 four-stroke engine oil for most climates. The current GMB100P manual lists approximately 0.35 L capacity. Other mini bike engines can specify a different viscosity, so check the engine label or owner manual rather than applying one grade to every model.
How do I know if my mini bike needs a tune-up?
Common signs: hard starting after the first few pulls (usually carburetor or spark plug), rough idle or stalling at low RPM (carburetor pilot circuit), sluggish acceleration despite correct tire pressure (air filter or carb), or noticeable power loss compared to when the bike was new (spark plug, carb, or air filter). Address them in order: check tire pressure first, inspect air filter, clean carburetor, check spark plug. Most tune-up issues trace back to one of these four items.
What is the right next step?
If you already own a GMB100 and need service parts, the GMB100 parts catalog lists filters, tubes, and service components mapped to the platform. If you are researching before buying, the GMB100's simple engine and accessible parts supply are among its practical advantages over bikes that require proprietary parts sourcing.