Your cart is empty
return to shopTL;DR
- The carburetor is the most common source of mini bike starting and running problems. Most issues are caused by ethanol-blended fuel leaving gum deposits when the bike sits unused.
- A carburetor cleaning takes 30–45 minutes and costs $8–$20 in supplies. It resolves roughly 80% of "won't start" or "runs rough" issues.
- The FRP GMB100 uses a PZ20 carburetor (20mm bore). Replacement costs $18–$35. Rebuild kits cost $6–$12.
- Carburetor adjustment (air/fuel mixture screw) should be done after cleaning if the bike still doesn't idle smoothly.
- Signs you need a carburetor replacement rather than cleaning: cracked body, stripped jets, worn-out needle jet bore that causes uncontrolled rich running.
The carburetor is the single component responsible for more mini bike starting problems than any other part. Not the spark plug, not the battery (mini bikes don't have one), not the fuel line — the carb. Ethanol-blended gasoline (which is almost all regular fuel sold in the US) breaks down over 30–60 days and leaves behind a varnish that clogs the tiny passages the carb uses to mix fuel with air. One or two riding seasons without a cleaning, and your mini bike goes from "starts on the first pull" to "won't start at all."
This guide covers diagnosis, cleaning, adjustment, and when to replace the carburetor entirely.
How a Mini Bike Carburetor Works
The carburetor's job is simple: mix fuel from the tank with air from the intake in the right ratio for the engine to burn efficiently. Most mini bikes use a float-bowl carburetor with three primary circuits:
- Idle circuit (pilot jet): Delivers fuel at low throttle and idle. A clogged pilot jet causes rough idle, stalling, and hard starting. This is the most commonly clogged component.
- Main jet: Controls fuel delivery at mid-to-full throttle. A clogged main jet causes the bike to bog, hesitate, or cut out at higher RPMs.
- Needle and needle jet: Controls fuel delivery in the transition range (1/4 to 3/4 throttle). Wear on the needle jet causes uncontrolled rich running.
The float bowl holds a small fuel reservoir and regulates fuel level via a float mechanism. If the bowl has varnish deposits, the float needle may stick open (flooding the engine) or closed (starving it).

Symptoms That Point to the Carburetor
| Symptom | Likely Carburetor Issue |
|---|---|
| Won't start (pulls fine, has spark, has compression) | Clogged pilot jet or stuck float needle |
| Starts but dies immediately | Clogged pilot jet; engine can't idle without choke |
| Only runs with the choke partially closed | Lean condition — pilot jet clogged or air screw too far out |
| Bogs or hesitates when the throttle is opened | Main jet partially clogged or lean jetting |
| Black smoke smells very rich | Float needle stuck open, flooding engine |
| Runs fine when warm, but hard to restart when cold | Pilot circuit partially blocked |
| Fuel leaking from the carb drain screw or overflow | Float stuck, bad needle valve seat, or cracked bowl |
Before blaming the carb: verify that your spark plug fires (remove it, ground the thread against the engine, and pull — you should see a blue spark), that you have fresh fuel (not gas that's been sitting over 60 days), and that the air filter isn't completely clogged. These three checks take 5 minutes and rule out the other common causes.
What You Need for a Carburetor Cleaning
- Carburetor cleaner spray ($8–$12 at any auto parts store)
- Small flat-blade screwdriver and Phillips screwdriver
- Jet removal tool or small flat screwdriver (for removing jets)
- Small wire — a single strand from a twist tie or thin copper wire (NOT a drill bit — do not ream the jet ports)
- Clean rag or paper towels
- Small bowl or tray to hold parts
- Optional: rebuild kit ($6–$12) with new gaskets, O-rings, and needle valve
Step-by-Step Carburetor Cleaning
Step 1: Remove the Carburetor
Turn the fuel petcock to OFF. Loosen the clamp on the intake boot (the rubber connector between the carb and the engine), and loosen the clamp connecting the carb to the air filter. Disconnect the throttle cable from the carb slide — there's typically a slot or screw holding the cable end. Note which way the throttle slide faces before removing.
Remove the float bowl drain screw (at the bottom of the bowl) and let any remaining fuel drain into a rag. Remove the two to four screws holding the float bowl to the carb body. The bowl will come off; catch the fuel.
Step 2: Remove and Inspect Jets
The main jet screws directly into the center of the carb body (visible when the bowl is removed). Use a flat screwdriver to remove it carefully — don't strip the soft brass. The pilot jet is a smaller brass fitting nearby, also removable with a flat-blade screwdriver.
Hold the main jet up to the light and look through the hole. You should see clearly through the center orifice. If you can't, it's clogged. The pilot jet's orifice is much smaller — look for it at the side of the jet.
Step 3: Spray and Soak
Spray carburetor cleaner liberally into every port and passage you can access — the main jet seat, pilot jet hole, the carb body passages, and the bowl cavity. Let it soak for 5 minutes. The cleaner dissolves varnish deposits that have built up.
For the jets specifically: spray cleaner through them, then use the wire strand to gently pass through the orifice once. Do not use a drill bit — reaming the jet hole changes the jet size and affects the mixture. The wire should slide through with minimal resistance once clean; if it doesn't, repeat the spray and soak.
Step 4: Clean the Float and Needle Valve
Remove the float by pressing out the hinge pin (it slides out sideways). The needle valve hangs from the float or sits in the seat independently. Inspect the needle tip — it should be smooth and tapered. A groove or flat worn into the tip means the needle valve won't seal properly (causing flooding). Replace the needle valve if it's grooved; they're included in most rebuild kits.
Clean the float bowl interior with carburetor cleaner and a rag. Remove any visible varnish deposit from the bowl walls and bottom.
Step 5: Reassemble and Test
Reinstall jets snugly (don't overtighten — brass threads are soft). Reinstall the float and needle valve. Install the float bowl with a new gasket if using a rebuild kit, or reuse the old one if it's in good condition. Reconnect to the bike, open the fuel petcock, and allow fuel to fill the float bowl (30 seconds).
Cold start: full choke, 2–3 steady pulls. The bike should start and run at fast idle. Open choke gradually as it warms up (2–3 minutes). At operating temperature, the bike should idle smoothly with the choke fully open.
Carburetor Adjustment: Air/Fuel Mixture Screw
If the bike starts and runs after cleaning but still idles roughly or dies at low RPM, the air/fuel mixture screw needs adjustment. This is the pilot jet air screw, typically on the side of the carb body (some are recessed under a plug on emissions-compliant carbs).
The baseline setting for most PZ20 mini bike carbs is 1.5 to 2 turns out from gently seated (do not crank it in hard — the seat is brass and will be damaged). Start at 1.5 turns out and adjust:
- If the idle is rough and the bike wants to stall → try 2 turns out (richer pilot circuit)
- If the idle is rough with black smoke or strong fuel smell → try 1.25 turns out (leaner)
- The correct setting produces the highest idle speed with the idle speed screw set to a baseline RPM
After finding the best air screw position, use the idle speed screw (a separate screw that contacts the throttle slide) to set idle to a comfortable speed — just fast enough that the engine doesn't stall when you release the throttle.
When to Replace vs Rebuild vs Clean
| Condition | Action | Cost |
|---|---|---|
| Varnish deposits won't start after storage | Clean (jets, bowl, passages) | $8–$15 in cleaner |
| Worn needle valve, leaking float bowl | Rebuild kit (new gaskets, O-rings, needle) | $6–$12 kit |
| Cracked carb body or bowl | Replace carb | $18–$35 for PZ20 |
| Worn needle jet bore (uncontrollable richness) | Replace carb | $18–$35 |
| Stripped jet threads (jets won't seat) | Replace carb | $18–$35 |
| Second cleaning attempt still fails | Replace carb — it's not worth a third attempt | $18–$35 |
A new PZ20 carburetor costs $18–$35 from aftermarket suppliers. If you've cleaned the carb twice and the bike still won't run properly, replacing the entire carb is faster and cheaper than spending more time diagnosing an old one.
One thing worth doing before you order rebuild parts: add up what the carburetor, jets and gaskets will cost against the current gas mini bikes. On an older bike where the carb is only one of several worn parts, the rebuild bill can get close enough to a replacement that the decision changes.
FRP GMB100 Specific: Carburetor Specs and Notes
The GMB100 uses a PZ20 carburetor with a 20mm throat bore. Key specs for ordering replacement parts:
- Type: Horizontal float carburetor, PZ20 clone
- Main jet: typically #90–#95 (varies by batch)
- Pilot jet: typically #38–#42
- Float needle: standard PZ20 needle valve
- Air filter: foam/sponge style; replace if heavily dirty before diagnosing carb
The most common GMB100 carb problem is storage-related. If the bike sat over winter without draining the float bowl, the pilot jet will almost certainly be varnished. This is the first thing to check. See the full mini bike won't start guide for the complete diagnosis sequence before going straight to carb work.
GMB100 Parts and the Bikes They Fit

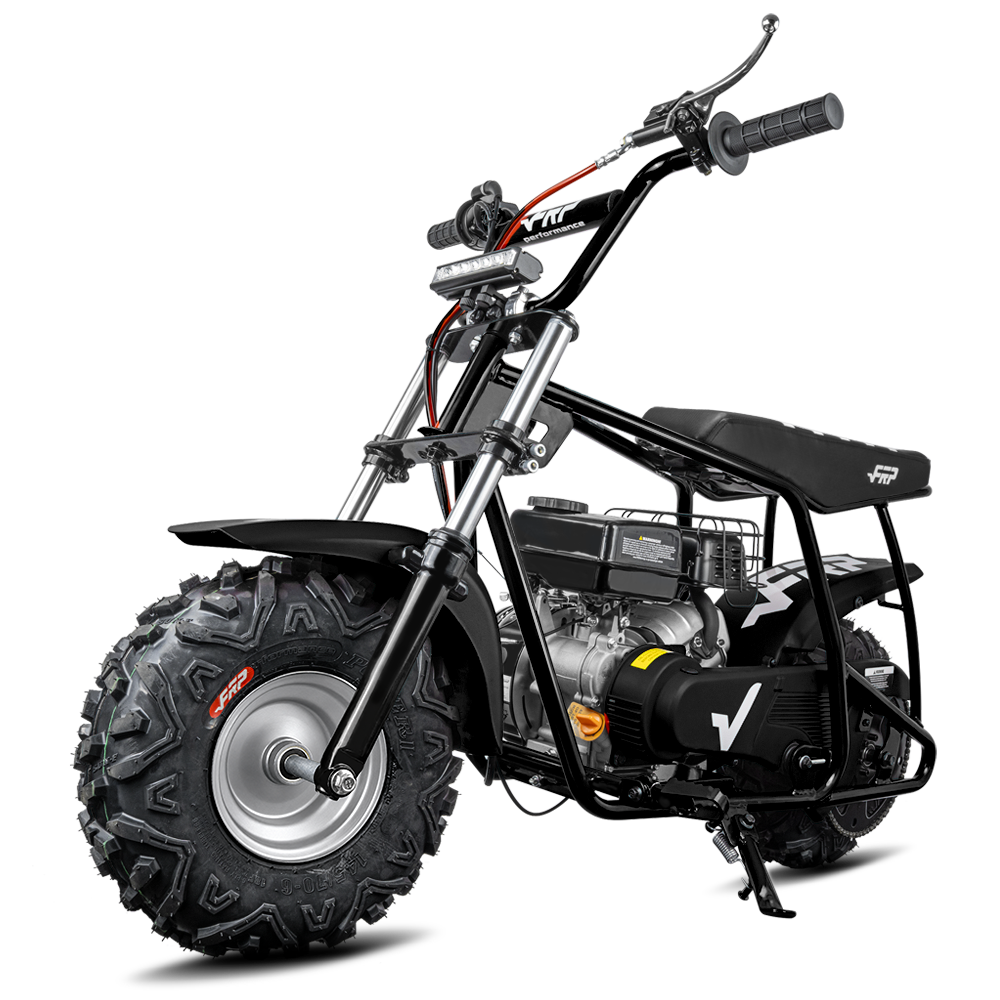
FRP GMB100 — The Standard Mini Bike
$379.99 · 99cc · PZ20 carb · Disc brake
The GMB100 uses a widely-available PZ20 carburetor. Parts are easy to source and the carb is user-serviceable in under an hour.
View GMB100 →
GMB100 Parts
OEM-compatible parts for the GMB100
Replacement parts including filters, chains, and components for the GMB100 platform.
View Parts →Preventing Carburetor Problems: Storage Best Practices
The easiest carburetor fix is avoiding the problem entirely. Before storing a mini bike for more than 30 days:
- Turn fuel petcock to OFF and run the engine until it dies from fuel starvation (drains the float bowl and carb passages).
- Remove the drain screw at the bottom of the float bowl and drain any remaining fuel completely.
- Add fuel stabilizer to the tank if you'll be storing for the season (Sta-Bil or similar). Run the engine briefly to get stabilized fuel into the carb before shutting down.
- Store with the air filter in place (keeps debris out of the carb throat).
Following these steps prevents 90% of carb storage problems. For the complete oil change and chain adjustment schedule that keeps the rest of the bike in shape, see the full mini bike maintenance schedule. The rider who does this once after the first storage failure never deals with it again.
Fuel Shutoff, Stuck Float, and Gas Getting Into Oil
A common real-world carburetor complaint is simple: the rider sees fuel where it should not be, or the oil starts smelling like gas. That usually points to a fuel-control problem, not an oil-brand problem.
Start with the basics. Turn the fuel shutoff valve off when the bike is parked. If fuel still leaks, inspect the fuel line, clamps, carb bowl gasket, float height, float needle, and overflow tube. A stuck float or dirty needle seat can keep feeding fuel into the carburetor after the engine is off.
If gas has already diluted the oil, do not run the engine to “burn it off.” Fix the leak path first, change the oil, and confirm the throttle returns cleanly and the carburetor no longer drips before riding.
Is a 24mm Carb Too Big for a 99cc or 100cc Mini Bike?
A 24mm carburetor can be too much for many 99cc or 100cc mini bike setups if the engine is otherwise close to stock. A bigger carb does not automatically make the bike faster. It can make throttle response worse, create rich or lean tuning problems, and make the bike harder to start or idle if the engine cannot use the extra airflow.
For a FRP GMB100-style 99cc engine, start with a clean and correctly adjusted stock-size carburetor before jumping to a larger carb. If the build has a different engine, cam, exhaust, or intake setup, then carb size should be matched to the full combination instead of chosen by bore size alone.
FAQ
Is a 24mm carb too big for a 99cc or 100cc mini bike?
Often, yes. On a mostly stock 99cc or 100cc engine, a 24mm carb can hurt low-speed response and make tuning harder. Clean and tune the existing carb first unless the engine build actually needs more airflow.
Can a Loose Carburetor Boot Let the Carb Fall Off?
Yes. A loose, cracked, hardened, or incorrectly clamped intake boot can let the carburetor move or separate from the engine. Stop riding if the carburetor is visibly loose. A carb that shifts can affect throttle control, and the opening around the boot can pull unmetered air into the engine.
Remove and reseat the carburetor fully, inspect the rubber boot for splits or loss of flexibility, and confirm that the clamp sits squarely over the supported sealing area. Tighten it evenly to the applicable service specification. More force is not always better: overtightening can distort or cut the rubber and create another leak.
If the bike now has a hanging idle, surging, or lean bog, continue with the FRP Moto intake-leak and lean-running checks before changing jets.
Can a loose mini bike carburetor boot make the carb fall off?
Yes. A carburetor can move or come off when it is not fully seated, the rubber intake boot is cracked or hardened, or the clamp is loose or positioned incorrectly. Stop riding, reseat the carburetor, inspect the boot and clamp, and replace damaged rubber. Do not overtighten the clamp because it can deform or cut the boot. A loose boot can also create an air leak and a lean or hanging idle.
Frequently Asked Questions
How do I know if my mini bike carburetor needs cleaning?
The most common signs: hard starting (more than 4–6 pulls with proper choke technique), rough idle or stalling at idle, only running with choke partly closed after warm-up, or the bike running fine but then dying when you open the throttle. Any of these after a storage period of 30+ days almost always indicates a dirty carburetor, specifically a clogged pilot jet.
What carburetor does the FRP GMB100 use?
The GMB100 uses a PZ20 horizontal float carburetor with a 20mm bore. This is a very common carburetor type — PZ20 replacement carbs and rebuild kits are widely available from aftermarket suppliers for $6–$35, depending on whether you're buying a full replacement or just a rebuild kit.
How long does a mini bike carburetor cleaning take?
30–45 minutes for a complete disassembly, cleaning, and reassembly. Most of that time is the carb cleaner soak (5–10 minutes). An experienced person who has done it before can do it in 20–30 minutes. The first time will take longer as you figure out your specific bike's access points.
Can I use WD-40 to clean a mini bike carburetor?
No. WD-40 is a water displacer and light lubricant, not a solvent. It will not dissolve varnish deposits from ethanol-blended fuel. Use carburetor cleaner spray specifically — it contains acetone and other solvents designed to break down fuel varnish. Carb cleaner costs $8–$12 and is available at any auto parts store.
Why does my mini bike only run with the choke on?
This is the most classic symptom of a clogged pilot jet. The choke enriches the mixture by restricting air flow — when the pilot jet is clogged, the engine needs this artificial enrichment to compensate for the lack of fuel delivery. Cleaning the pilot jet (the smaller of the two brass jets in the carb) almost always solves this problem.
How often should I clean my mini bike carburetor?
In normal use with fresh gasoline (not stored), a carburetor cleaning once per riding season (or every 50 hours) is sufficient. If you use ethanol-blended fuel (E10 or higher, which is almost all US regular gasoline), clean more frequently or always drain the carb before storing. If you use ethanol-free fuel (available at some stations as "recreational fuel"), cleaning intervals can be extended significantly.