Table of Content
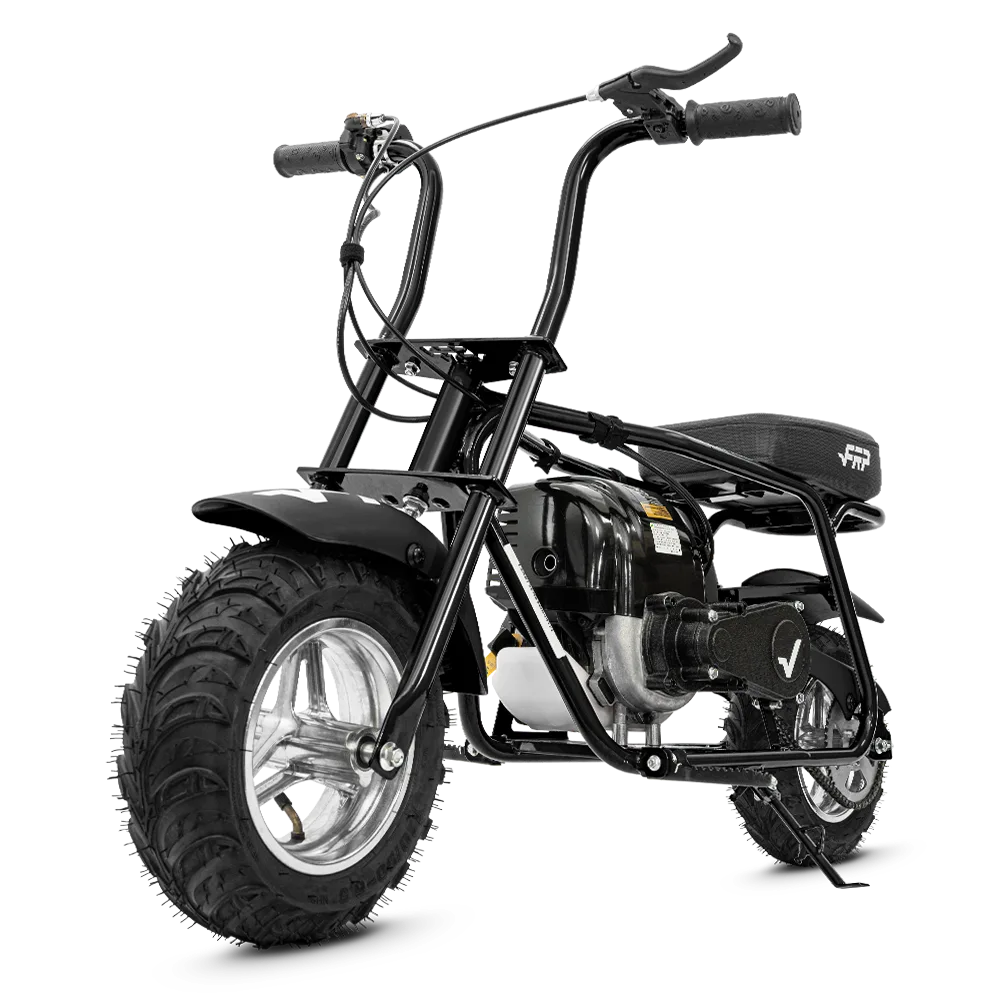
Shop the lineup: Browse all FRP gas mini bikes — from the 40cc MB40 for kids to the 99cc GMB100 that carries adults up to 220 lb.
- Why Your Mini Bike Chain Needs Regular Attention
- How Tight Should a Mini Bike Chain Actually Be?
- What Tools Do You Need Before Starting a Chain Adjustment
- How to Tighten the Chain on Your FRP GMB100 in 5 Steps
- Loose Chain vs Worn Chain: How to Tell the Difference
- How to Replace the Chain on a GMB100 in 6 Steps
- How Often Should You Lubricate and Inspect Your Mini Bike Chain?
- FAQ
A loose or worn chain is the most common reason a mini bike loses power, skips under throttle, or throws a chain mid-ride — and fixing it takes under 20 minutes with basic hand tools. The FRP GMB100 runs a 99cc 4-stroke OHV engine capable of 24 mph, and every bit of that power travels through the chain before it reaches the rear wheel. If your chain tension is off, you're not getting full performance — and you're accelerating wear on both the chain and the sprocket. This guide covers exactly how to check tension, tighten a loose chain, and replace a worn one, so you stay on the ground and in control.
Why Your Mini Bike Chain Needs Regular Attention
The chain is the only mechanical link between the engine and the rear wheel — and it takes the full load of a 99cc OHV engine pushing a 79.5 lb machine at 24 mph. At that speed, a chain that's even slightly slack generates oscillation under load, which causes skipping, power loss, and accelerated wear on the sprocket teeth. Ignore it long enough, and a loose chain can jump off completely mid-ride — at 24 mph, that's not a minor inconvenience. On the GMB100, chain maintenance is one of the highest-return maintenance tasks you can do in under 20 minutes. (chain drive maintenance standards for small powersports vehicles)
How Tight Should a Mini Bike Chain Actually Be?
Correct chain tension on the GMB100 means 10–20mm of vertical play at the midpoint of the lower run — measured by pressing up gently with one finger. Less than 10mm means the chain is too tight, which puts excess load on the rear axle bearings and can snap the chain under hard acceleration. More than 20mm of slack means the chain is too loose, which causes slap against the chain guard and risks throwing the chain under load. Both extremes cause damage; the 10–20mm window is the operating zone where the mini bike chain adjustment delivers full power transfer with minimal component stress. Check this measurement cold, before the engine has run.

What Tools Do You Need Before Starting a Chain Adjustment
Three tools cover everything you need for a GMB100 chain adjustment: a 17mm wrench for the rear axle nut, a ruler or small tape measure for checking vertical play, and a quality chain lubricant rated for motorcycle or ATV use. Don't substitute WD-40 for chain lube — it displaces moisture temporarily but evaporates quickly and leaves no protective film, which accelerates chain wear. Keep a clean rag on hand to wipe the chain before lubricating; applying lube to a dirty chain traps grit against the links. Everything you need fits in a small tool bag that weighs under 2 lbs — light enough to bring on longer sessions where mid-ride adjustments are a real possibility.
How to Tighten the Chain on Your FRP GMB100 in 5 Steps
Step 1: Park the bike on a flat surface and let the engine cool — making any drivetrain adjustment on a hot engine risks burns and means working on a chain that's thermally expanded. Step 2: Locate the rear axle nut — on the GMB100, it sits on both sides of the rear wheel; loosen both sides with the 17mm wrench, but do not remove them. Step 3: Find the chain adjustment bolts — positioned at the rear of the swingarm on both sides; turn them clockwise in equal increments on each side to pull the axle backward and tighten the chain. Step 4: Measure vertical play at the chain midpoint — target 10–20mm; recheck after each small adjustment rather than making large corrections at once. Step 5: Torque the axle nuts evenly and apply chain lube — uneven torque on the two sides throws off rear wheel alignment, which creates chain wear on one side of the sprocket faster than the other.

Loose Chain vs Worn Chain: How to Tell the Difference
A loose chain returns to correct tension after adjustment and stays there across multiple sessions — this is a normal stretch that every chain undergoes after initial break-in. A worn chain cannot hold correct tension: even after tightening, it slackens again within a short ride, or it shows visible signs of damage that adjustment cannot fix. (Roller chain wear measurement and replacement standards) Three signs indicate replacement rather than adjustment: chain links that feel stiff or won't articulate smoothly, sprocket teeth that have developed a hooked or asymmetrical profile from worn engagement, and chain stretch that measures more than 1% over a standard 12-link span. Continuing to ride a genuinely worn chain on an otherwise healthy GMB100 accelerates sprocket damage — and replacing both sprocket and chain at the same time is always the more economical long-term call.

How to Replace the Chain on a GMB100 in 6 Steps
Step 1: Source the correct replacement chain — the GMB100 uses a standard #420 roller chain; verify the pitch and confirm the link count before ordering from FRP GMB100 replacement parts. Step 2: Remove the rear axle nut and slide the wheel forward — this creates enough slack to lift the old chain off the front sprocket and rear sprocket without forcing. Step 3: Remove the master link and separate the chain completely; inspect both sprockets for hook-shaped teeth before installing the new chain. Step 4: Thread the new chain around both sprockets and connect it with a fresh master link — always install the master link clip with the closed end facing the direction of chain travel. Step 5: Slide the rear wheel back and set initial tension to the 10–20mm specification before torquing the axle nuts. Step 6: Apply chain lube immediately and check alignment — a straight edge or string line from front to rear sprocket confirms the wheel is tracking true on both sides.
How Often Should You Lubricate and Inspect Your Mini Bike Chain?
Lubricate every 5–10 hours of riding under normal conditions — hard-packed dirt and grass fall into the normal category. After any ride on loose gravel, sand, or wet terrain, clean and re-lubricate immediately rather than waiting for the next scheduled session. Grit embedded in the chain lubricant acts as an abrasive compound against the side plates and rollers, accelerating wear faster than dry running would. The GMB100's 145/70-6 knobby tires are built for off-road terrain, which means the chain gets genuine off-road exposure — match your maintenance schedule to the actual riding conditions, not a calendar. A visual check takes under 2 minutes: spin the rear wheel by hand and watch for stiff links, uneven tension across the chain run, or rust.
FAQ
What chain size does the FRP GMB100 use, and where can I purchase a replacement?
The GMB100 uses a #420 roller chain. FRP stocks replacement chains through the GMB100 parts page on frpmoto.com, alongside the sprockets. Confirm the link count on your existing chain before ordering — count the links around the full loop to get the correct length for your specific setup.
Can I use WD-40 to lubricate my mini bike chain, or do I need a specific chain lube?
Use a dedicated chain lubricant — not WD-40. WD-40 is a water displacer, not a lubricant, and it evaporates too quickly to provide lasting protection. A motorcycle-rated chain wax or wet lube stays on the rollers and side plates through an entire session and resists fling-off at the GMB100's operating speeds.
How do I know if my rear sprocket needs to be replaced at the same time as the chain?
Inspect the sprocket teeth for a hooked or shark-fin profile — worn teeth lean in the direction of chain travel instead of pointing straight up. If the profile is asymmetrical or the teeth feel sharp to the touch, replace the sprocket alongside the chain. Installing a new chain on a worn sprocket accelerates new chain wear immediately.
Is it safe to ride my mini bike if the chain feels slightly loose between maintenance sessions?
A chain with more than 20mm of vertical play is outside the safe operating range — do not ride until it's adjusted. A loose chain risks throwing off the sprocket under hard throttle acceleration. The adjustment takes under 10 minutes and requires only a 17mm wrench; there's no safe threshold for ignoring it.
Does adjusting the chain affect the rear wheel alignment on the GMB100?
Yes — uneven adjustment bolt turns on the left and right sides of the swingarm pull the axle at an angle, which throws the rear wheel out of alignment with the frame. Always turn both adjustment bolts the same number of increments and verify with a straight edge after tightening. Misalignment causes uneven chain wear and affects straight-line tracking at speed.
Need the complete bike? Shop the FRP GMB100 99cc gas mini bike.