
TL;DR:
- Learn controls before starting: throttle, rear brake, kill switch — always in this order.
- Practice stopping first. Most beginners over-accelerate because they practice throttle before brake.
- Always wear helmet, gloves, and closed-toe shoes — a 25 mph tip-over causes real injury without gear.
- First gear at half-throttle in a large open area is the correct first ride setup.
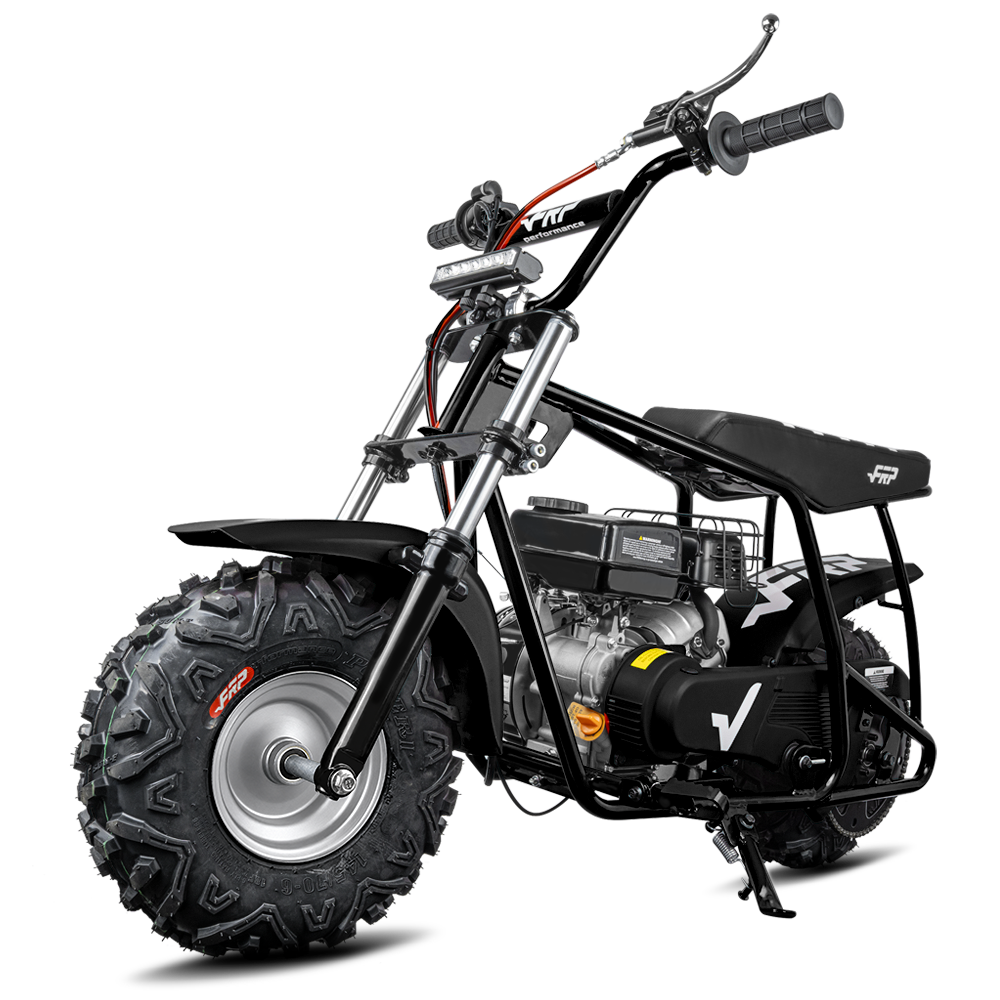
- The GMB100 is one of the most beginner-friendly adult mini bikes available — predictable, low center of gravity.
Most people who buy a mini bike for the first time have never ridden one before. This guide walks through the complete first ride sequence — from controls familiarization through confident low-speed riding — for the FRP Moto GMB100 and comparable mini bikes.

According to the Consumer Product Safety Commission (CPSC), properly fitted helmets meeting DOT FMVSS 218 certification requirements reduce serious head injury risk by approximately 69% in recreational off-road vehicle incidents. The CPSC's protective gear checklist for off-road riders — helmet, gloves, eye protection, and closed-toe boots — forms the basis for the safety gear requirements at the start of this guide, before the first riding step.
What do you need to know before your first mini bike ride?
Four things must happen before the engine starts:
- Gear check: Helmet fitted and buckled, gloves on, closed-toe shoes (no sandals or bare feet). If you do not have gear, do not ride. A 20 mph fall onto pavement without a helmet causes serious head injury.
- Bike check: Tire pressure at spec (typically 20–30 psi front and rear), chain tension correct (½ inch vertical play at midpoint), throttle snaps back when released See the maintenance schedule for pre-ride checklist and service intervals., fuel level visible in tank or petcock open.
- Space check: You need a flat area at least 50 feet long with no obstacles. A driveway, parking lot, or large grass area. Not a road. Not a sidewalk. Not near a fence or wall.
- Kill switch location: Before starting, put your thumb on the kill switch. You must be able to hit it without looking.
How do you start a mini bike engine?
For the GMB100 and most 99cc 4-stroke mini bikes with electric start:
- Fuel petcock to the ON position (if your bike has one)
- Choke to CLOSED/ON if starting cold (open weather below 60°F or after the bike has sat for more than 30 minutes)
- Throttle closed — do not hold throttle open while starting
- Press the electric start button, or kick-start with one firm downward stroke (not multiple quick taps)
- Engine should fire within 1–3 attempts cold, 1 attempt warm
- Let idle for 30–60 seconds before riding (allows oil to circulate and engine to warm)
- Move choke to OPEN once the engine is running smoothly
If the engine does not start after 3–4 attempts: check fuel level, check that choke is ON for cold start, check that the kill switch is in the run position. See the full troubleshooting guide if it still does not start.
What is the correct first ride sequence for a beginner?
This is the sequence used by instructors. Do not skip steps or combine them — each step builds the muscle memory needed for the next.
Step 1: Learn the brake without moving
Engine on, bike in neutral, feet on the ground. Press the rear brake lever fully. Feel where it engages. Release slowly. Do this 10 times until it is automatic. The brake must be as automatic as breathing — you must be able to reach it without looking in a moment of surprise.
Step 2: Walking pace in first gear
First gear, release clutch (if applicable) or gently add throttle until the bike begins to move. Keep speed at walking pace — about 3–5 mph. Use rear brake to stop. Do not try to go faster. Ride the full length of your practice area, stop, restart. Do this 5–10 times until stopping is comfortable.
Step 3: Slow control at 10–15 mph
Increase to 10–15 mph in first gear. Stay below 15 mph until you can stop smoothly every time without lurching. Practice stopping at a specific spot (a cone, a line on the pavement). Precision stopping = control. Most new riders skip this and go fast before they can stop. This creates the incidents that make people give up.
Step 4: Turning at slow speed
At 10 mph, practice wide turns — 20-foot radius circles. Look through the turn, not at the ground directly in front of you. The bike follows your eyes. Tight turns come later; wide slow turns first. Aim for smooth, not sharp.
Step 5: Building speed only after step 4 is mastered
After you can stop reliably at 15 mph AND turn smoothly: add speed. First gear to 20–25 mph (most 99cc mini bikes run at the top of their speed range here). Do not shift to higher gear until you are fully comfortable at each speed increment. The GMB100 has one speed range optimized for its engine — no gear shifting required.
Ready for Your First Ride?
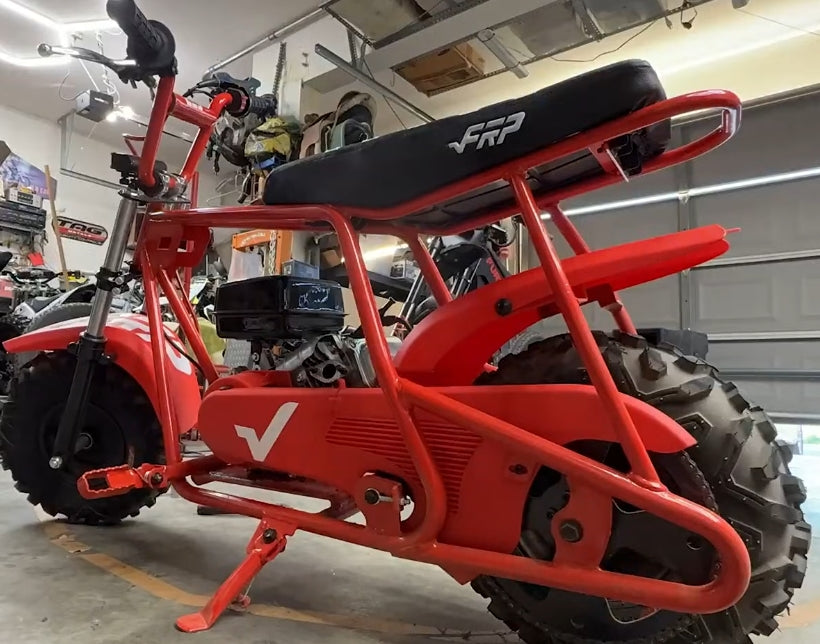
The FRP Moto GMB100 is the recommended first adult mini bike: predictable 99cc engine, low center of gravity, and electric start. Beginner-friendly at stock, modifiable when you're ready to go faster.
View the GMB100 →What mistakes do first-time mini bike riders make?
In order of how often they result in a drop or injury:
- Throttle before brake. New riders squeeze the throttle to "feel the power" before they have practiced braking. The sequence must be brake first, always. Every time a new rider surprises themselves with the throttle, the instinct is to grab more throttle, not brake. Muscle memory trained early prevents this.
- Looking at the front wheel. Where you look is where the bike goes. Looking at the ground 5 feet in front of you causes weaving and corner cut-outs. Look 20–30 feet ahead. This is learned behavior that requires deliberate practice.
- Stiff arms. Locked elbows absorb no vibration and telegraph every surface irregularity into the steering. Slight bend in the elbows, relaxed grip pressure — not white-knuckle. The bike is more stable when you are not fighting it.
- Over-braking into a turn. Most beginner drops happen at the apex of a turn when the rider panics and grabs the brake hard while leaning. Both wheels lock, the bike goes straight, the rider does not. Brake before the turn, not during it.
- Riding without practicing stopping. See Step 1 above. This is the most common shortcut and the one that causes the most incidents. The brake session feels unnecessary until the first time you need it.
What gear do you need to ride a mini bike safely?
| Gear | Required / Recommended | What to look for |
|---|---|---|
| Helmet | Required | DOT or ECE certified. Full-face or motocross style preferred. Must fit snugly — no movement when shaken. Replace after any significant impact. |
| Gloves | Required | Riding gloves, not work gloves. Protect palms from road rash in falls. Must allow throttle and brake feel. |
| Footwear | Required | Closed-toe shoes minimum. Ankle-height preferred. No sandals, flip-flops, or barefoot. The foot/ankle is the most common contact point in low-speed tip-overs. |
| Goggles | Recommended | Required for trail or dirt riding. Useful on road for debris protection above 20 mph. |
| Knee pads | Recommended | Especially for first-time riders learning at low speed on pavement. Knee contact in tip-overs is common. |
| Chest/back protector | Optional | For riders doing trail or faster riding. More relevant at 35+ mph than at beginner speeds. |
How do you stop safely on a mini bike?
Correct stopping technique for most mini bikes (including the GMB100 with rear drum or disc brake):
- Close throttle fully — engine braking alone will slow you significantly
- Apply rear brake progressively — squeeze, do not yank
- Keep body weight centered and slightly back — do not lean forward
- Both feet come down together when coming to a stop — do not step off to one side
If the bike has front and rear brakes: apply rear first (70% rear, 30% front in normal conditions). At higher speeds, more front brake is acceptable — but front-only braking causes front wheel lock and dive, which is the most dangerous stopping error.
Where can you legally ride a mini bike?
Mini bikes are legal to ride on private property and at designated OHV (off-highway vehicle) areas in most US states. They are not street legal in most states without extensive modification (lighting, registration, VIN certification). For specifics, see the complete mini bike laws guide.
Frequently Asked Questions
Is a mini bike hard to learn how to ride?
No — a mini bike is one of the more beginner-friendly power vehicles available. The low center of gravity, modest speed, and simple controls make it easier than a full-size motorcycle or dirt bike. Most adults can achieve basic comfortable riding in a single practice session following the step-by-step sequence above.
How long does it take to learn to ride a mini bike?
For a complete beginner: 1–3 hours of focused practice over 1–2 sessions to achieve comfortable slow-speed control. 5–10 hours total to reach relaxed confident riding at full speed. The skill ceiling is much lower than motorcycles — there is no clutch management, no complex gear shifting, and no significant lean angle required.
Can you ride a mini bike without experience?
Yes — the sequence above is designed for riders with zero experience. No prior riding experience is required. Prior bicycle riding helps (balance, steering, looking ahead) but is not mandatory. Following the brake-first learning sequence is more important than prior experience.
Do you need a license to ride a mini bike?
No license is required for off-road riding on private property in most US states. Some states require a driver's license or OHV permit for OHV park riding. No US state allows mini bike street riding without a license and registration. See the mini bike laws guide for your state's specific rules.
Why does my mini bike pull to one side?
Most common causes: uneven tire pressure (check both tires), bent handlebar or fork, or rear axle not centered in the frame slots. Check tire pressure first — it is the most common cause and takes 30 seconds to verify. If pressure is equal and the pull persists, check the rear axle position by measuring chain slack on both sides of the centerline.