A wheelie bar is a rear-mounted steel support that prevents a mini bike from flipping backward during wheelies — it's not a training wheel, and it's not just for kids. If you've upgraded your GMB100 to a 196cc or 212cc engine, or if you're just starting to learn how to pop a wheelie, a wheelie bar is the one accessory that lets you practice without the risk of looping out and eating pavement.

This guide covers every angle: what a wheelie bar actually does, who needs one, the three types available, which fits your specific bike, how to install and adjust it, and where to buy. Jump to the section you need, or read through to get the full picture before you commit.
What Is a Wheelie Bar on a Mini Bike?
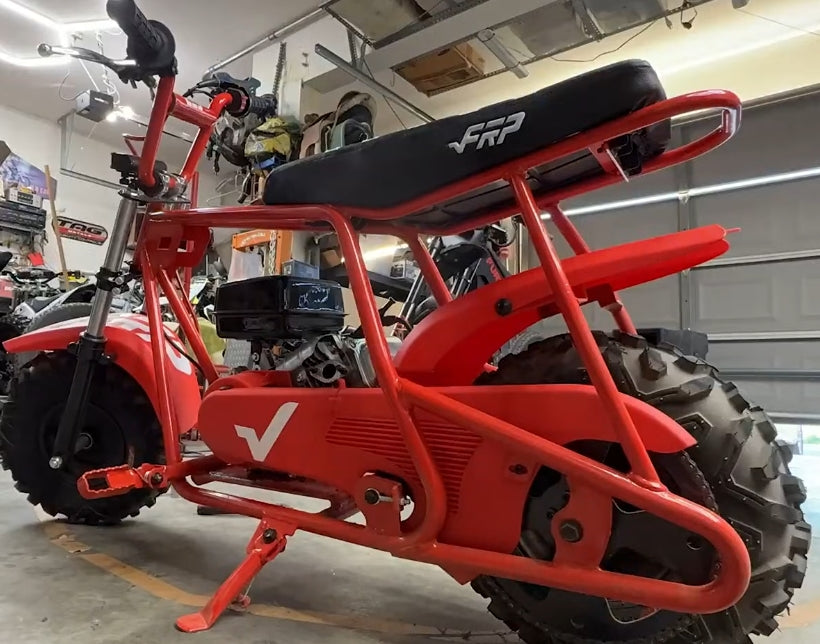
A wheelie bar is a bolt-on frame extension that mounts to the rear of your mini bike. Two steel arms extend backward and downward from the frame, ending in a small axle with a pair of soft-compound wheels. Under normal riding conditions, those wheels hover just above the ground. When the front wheel lifts beyond a safe angle — say, past 30–40 degrees — the wheelie bar contacts the pavement, physically preventing the bike from going any further back.
That's the key distinction beginners often miss: a wheelie bar doesn't help you do a wheelie — it stops you from over-rotating during one. Think of it as a mechanical failsafe. The front wheel still has to come up through your own throttle control; the wheelie bar puts a ceiling on how far it can go.

This is different from training wheels, which keep the bike upright during low-speed riding. Training wheels touch the ground continuously. A wheelie bar, in normal use, never touches the ground at all. It only intervenes at the moment you'd otherwise crash.
According to safety research published by the Motorcycle Safety Foundation, the majority of stunt-related injuries on small-displacement bikes result from unexpected rear-wheel flips rather than forward falls. A wheelie bar directly eliminates that failure mode.
Who Actually Needs a Wheelie Bar?
Mini bike community members at DIY Go Karts consistently report the same scenario: "I put a modded Predator on it — it'll do a wheelie at half throttle. I need something to stop me from going backwards." That's the primary use case: a modified or high-torque engine that makes the front wheel come up more easily than expected.
You need a wheelie bar if:
You've swapped to a bigger engine. A stock GMB100 at 99cc is manageable for most riders. But once you drop in a 196cc or Predator 212, the torque-to-weight ratio changes dramatically. Riders in the mini bike community routinely report that the front wheel becomes unmanageable after an engine swap without some form of limiter.
You're actively learning wheelies. The stunt bike community has documented this clearly — a wheelie bar cuts the learning curve by roughly 80% because it lets you focus on throttle control and balance point instead of fear of flipping. Forum user data from Stunt Life suggests riders using a wheelie bar during training reach controlled balance-point wheelies in a fraction of the time of those riding without one.
Younger or less experienced riders are on the bike. If your teenager is riding a GMB100 that's been upgraded, or if you're letting a newer rider practice stunts, the wheelie bar is not optional. It's a liability and safety baseline.
You're setting up for drag-style launch practice. A hard launch at full throttle with the right gearing will get the front wheel airborne. A wheelie bar lets you practice consistent launches without babying the throttle.
Not sure if you need one? A good rule of thumb from experienced mini bike riders: if your engine can pull the front wheel up in second gear at half throttle, you need a wheelie bar before practicing anything at full power.
The Three Types of Mini Bike Wheelie Bars
Understanding the differences here will save you money and frustration.
Type 1: Brand-Specific Bolt-On Kits (Best for Most Riders)
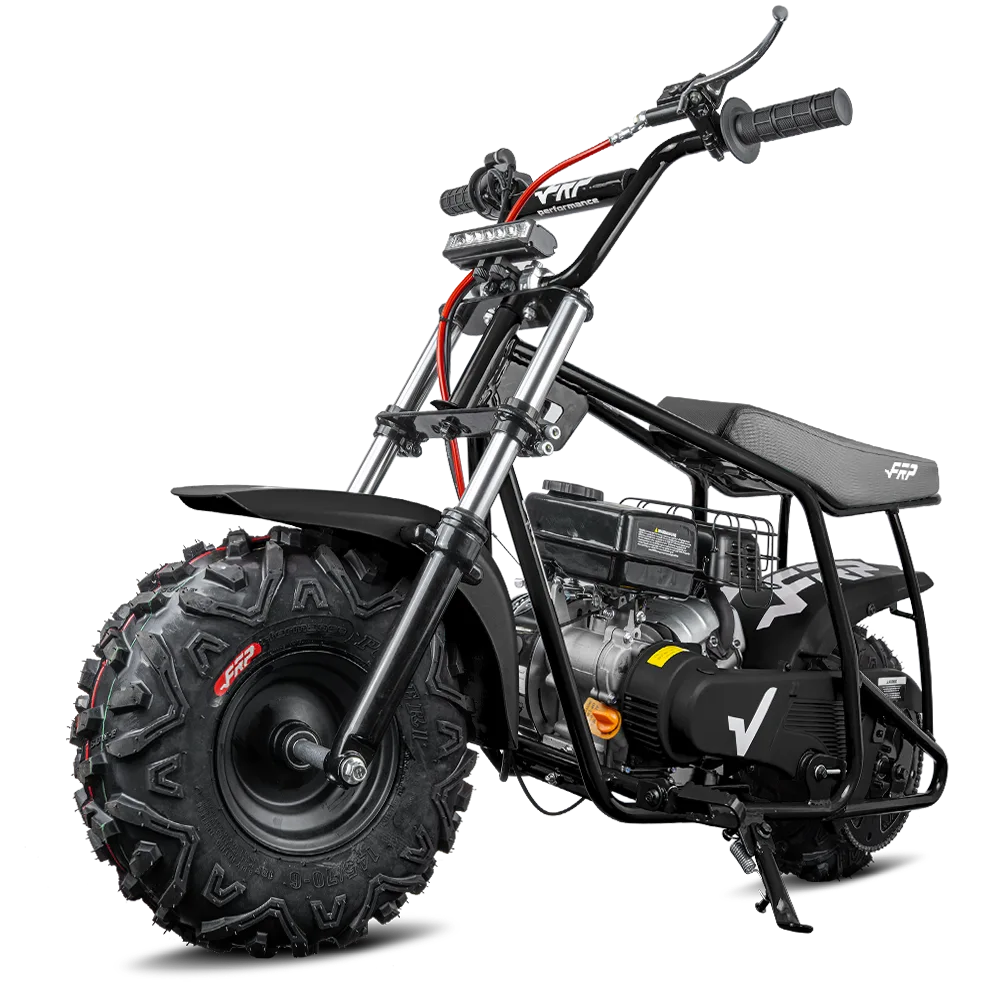
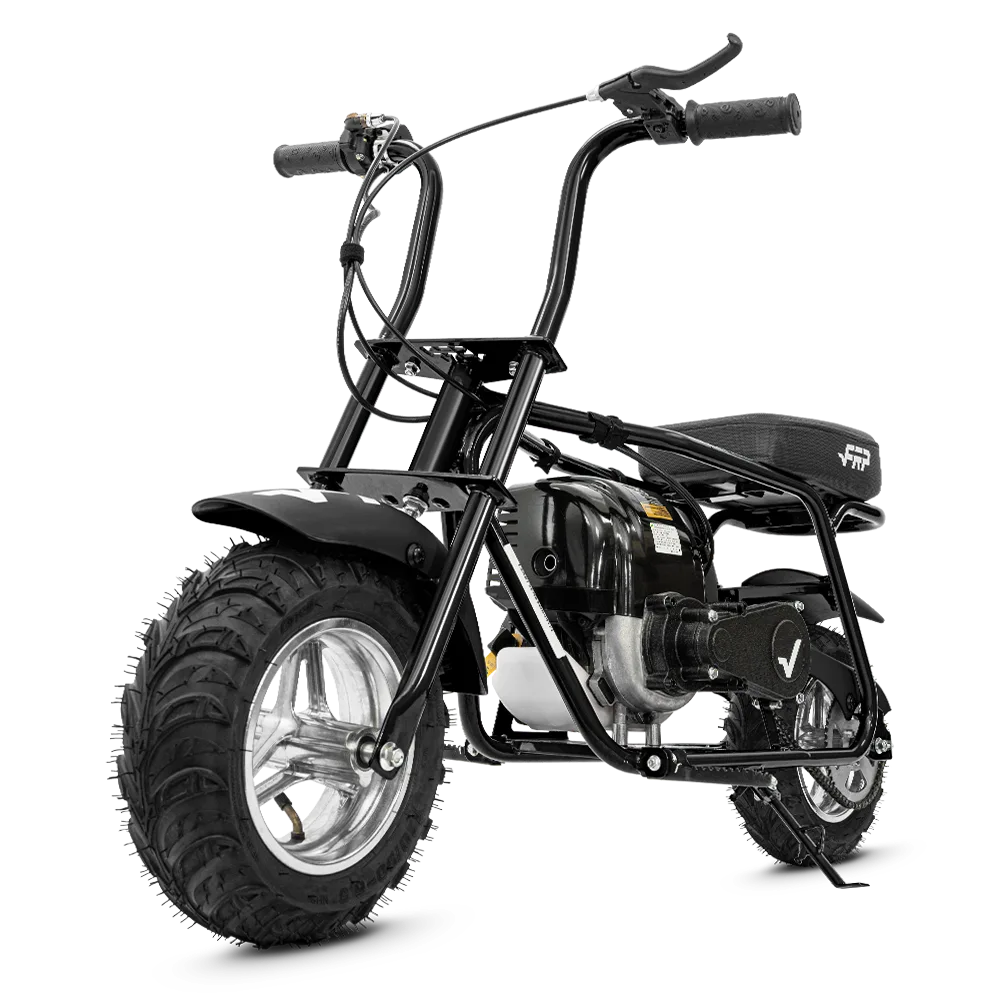
These are designed and manufactured for specific mini bike frames. The FRP Wheelie Bar is the clearest example: it's purpose-built for the GMB100, GMB100P, GMB100U, and GMB100 frame variants, with bracket geometry matched to FRP's exact rear frame mounting points. The M8 bolt pattern lines up without shimming, drilling, or guesswork.
Specs: High tensile steel frame, 460 × 410 × 75mm overall, 70 × 50mm soft-compound wheels, 310mm rear axle, M8 × 25mm and M8 × 35mm hardware included, installation tools included.
Fits: GMB100 / GMB100P / GMB100U / GMB100 Frame / Oryxearth 99cc / Oryxearth 105cc
Who it's for: Anyone with a GMB100 series bike who wants a 20-minute installation with zero drilling.
Who it's NOT for: Riders with Coleman CT200U, Baja Warrior, or other non-GMB100 frames.
Type 2: Universal Aftermarket Kits
These are sold as "fits most mini bikes" and typically use adjustable brackets to accommodate different frame widths and mounting locations. Price range is $40–$90. The problem real users consistently report on forums and in Amazon reviews: "universal" rarely means truly universal. Bolt patterns often don't align exactly, requiring shims or washers, and the bracket spacing may put the wheelie bar wheels off-center relative to the frame.
If you have a Coleman, Baja, or non-FRP frame and a brand-specific kit isn't available, a universal kit is the right path — just budget an extra 30–60 minutes for fitting compared to a dedicated kit.
Type 3: DIY Fabricated (Lowest Cost, Highest Effort)
Mini bike community members routinely build their own using 3/4" EMT conduit or square steel tube, flat bar, and caster wheels — total material cost typically runs $20–$35 from Home Depot. The main requirements: a MIG welder (or access to one) and basic metalworking skills. DIY bars work well when built correctly, but the failure point is usually wheel height — as one experienced builder on DIY Go Karts noted: "If I did it again, I would have put the wheels closer to the ground. The front still came up too much." Getting the geometry right on a custom build takes trial and error.
See our full DIY Wheelie Bar Build Guide for measurements, materials, and step-by-step fabrication.
Wheelie Bar Compatibility by Mini Bike Model
This is the section where most buyers get confused. Here's a direct compatibility guide:
| Mini Bike Model | Recommended Wheelie Bar | Bolt-On? | Notes |
|---|---|---|---|
| FRP GMB100 | FRP Wheelie Bar | Yes | Perfect fit, tools included |
| FRP GMB100P | FRP Wheelie Bar | Yes | Same frame geometry |
| FRP GMB100U | FRP Wheelie Bar | Yes | Same frame geometry |
| Oryxearth 99cc / 105cc | FRP Wheelie Bar | Yes | Confirmed compatible |
| Coleman CT200U / CT100U | Universal kit or DIY | Fitment check needed | M8 holes, but spacing varies |
| Baja Mini Bike / Warrior | Universal kit or DIY | Fitment check needed | Measure the rear frame width first |
| Predator 212 custom build | DIY fabricated | Custom required | Frame geometry varies |
For GMB100 riders, the path is simple: the FRP Wheelie Bar is the direct answer. For every other frame, measure your rear frame mounting width before ordering any kit.
How to Set the Right Wheelie Bar Height
Height is the one adjustment that determines whether your wheelie bar actually works. Get it wrong, and you'll either be dragging it during normal riding or letting the front wheel come up too far before it makes contact.
The correct target: Wheelie bar wheels should sit 1.5 to 2 inches (38–50mm) off the ground when the bike is at rest on flat ground with a rider on board. That rider-weight measurement is important — the bike squats slightly under load, so measure with someone sitting on it.
Too high: The front wheel can reach a dangerous angle before the wheelie bar makes contact. You'll feel the bike starting to go past vertical before the bar catches.
Too low: The wheelie bar drags during normal acceleration and cornering. You'll hear it scraping, and it will wear the wheels down quickly.
The FRP wheelie bar has multiple position holes in the connecting rods, letting you dial in height in roughly 10–15mm increments. Set it, take a slow test pass, and adjust before full-throttle use.
Quick Installation Overview
Full step-by-step instructions are in our dedicated Wheelie Bar Installation Guide. The short version for the FRP kit:
- Tools: Two M8 wrenches (included in the kit)
- Time: 15–25 minutes
- Skill level: No welding, no drilling — bolt-on only
- Steps: Attach bracket base to rear frame → connect rods → install axle and wheels → set height → tighten all hardware to spec
The most common mistake during installation is tightening all bolts before setting the final height. Always do a rough fit with everything loose, set height, then torque everything down.
Maintenance: What to Check After Every 5 Rides
Wheelie bars take real impacts during practice — especially once you're actively using them to catch over-rotation. Build these checks into your routine:
- Bolt torque: M8 bolts should be checked for looseness after the first 2–3 uses. Vibration from the engine will back them out.
- Wheel wear: The soft-compound wheels wear faster on rough pavement than on smooth concrete. Replace when the flat contact surface becomes noticeably grooved.
- Frame crack check: Look for stress cracks around the bracket base weld points, especially after any hard contacts. On DIY builds, this is more likely; on the FRP kit, high tensile steel makes this rare.
- Axle alignment: The rear axle should remain parallel to the ground. If one side looks lower than the other, re-check spacer placement.
Frequently Asked Questions
Does a wheelie bar affect normal riding? No, when set to the correct height of 1.5–2 inches off the ground, the wheelie bar never contacts the pavement during normal riding, cornering, or moderate acceleration. The only time it touches the ground is when the front wheel rises past the point it's designed to limit.
Can I leave the wheelie bar on all the time? Yes, with one exception: off-road or uneven terrain. On rough ground, the wheelie bar can dig in during ruts or jumps. Most bolt-on kits, including the FRP unit, are designed to be removable in under 5 minutes for exactly this reason.
What mini bikes are the FRP wheelie bar compatible with? The FRP Wheelie Bar fits the GMB100, GMB100P, GMB100U, GMB100 frame variants, and Oryxearth 99cc and 105cc models. It is not a universal fit for Coleman or Baja frames.
How long does installation take? With the FRP kit and its included tools, first-time installation takes most riders 15–25 minutes. Subsequent removal and reinstallation takes under 5 minutes once you know the process.
Does a wheelie bar make it easier to learn wheelies? Yes — significantly. By eliminating the risk of over-rotation, a wheelie bar lets you focus entirely on throttle control and finding the balance point rather than managing fear. Mini bike riders consistently report faster progression when using a wheelie bar during training sessions.
The Bottom Line
If you have a modified GMB100 or you're actively practicing wheelies, a wheelie bar is not optional gear — it's a safety baseline. The FRP Wheelie Bar is the most direct option for GMB100 owners: bolt-on installation, high tensile steel, and geometry matched to the frame. For other bikes, use our compatibility table above to choose the right path.
Ready to go deeper? Start with the Installation Guide, check the Best Wheelie Bars comparison, or if you've got a welder, the DIY Build Guide has your full parts list.
What to Read Next
- → Best GMB100 Accessories & Upgrades 2026 — curated parts list with fitment notes for all three GMB100 variants.
- → How to Make Your 99cc Mini Bike Faster — bolt-on performance mods before the 212 swap.
- → GMB100 Upgrade Roadmap: Stock to Predator 212cc — staged build plan — every part documented from Day 1 stock to full swap.
- → FRP Moto Answers Hub — quick answers: price, oil, assembly, shipping, warranty.