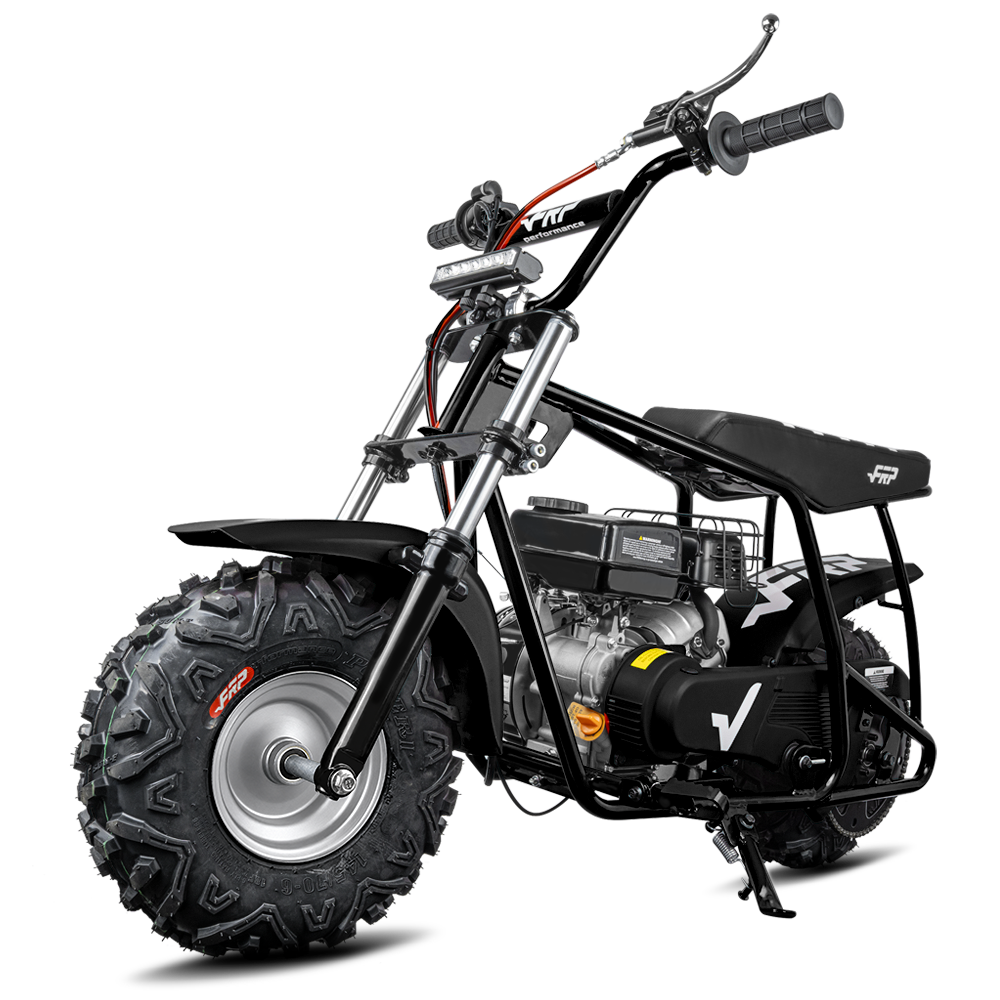
If you’ve been looking for ways to upgrade your GMB100 — or figuring out whether a Predator 212 swap is actually worth it — this guide breaks down every stage, from stock setup to full custom build.
FRP Complete Upgrade Path: Build It With Parts You Can Actually Buy
If you are upgrading a GMB100, do not start with a random engine list. Start with the FRP parts that decide whether the build fits, stops, and rides correctly.
| Upgrade stage | FRP product path | Price | Best for |
|---|---|---|---|
| Stage 1: Ready-to-ride base | FRP GMB100 Gas Mini Bike | $379.99 | Stock 99cc riding, backyard use, flat trails, first mini bike owners. |
| Stage 2: Utility setup | FRP GMB100U Gas Mini Bike | From $399.99 | Camping, private property chores, hauling light gear. |
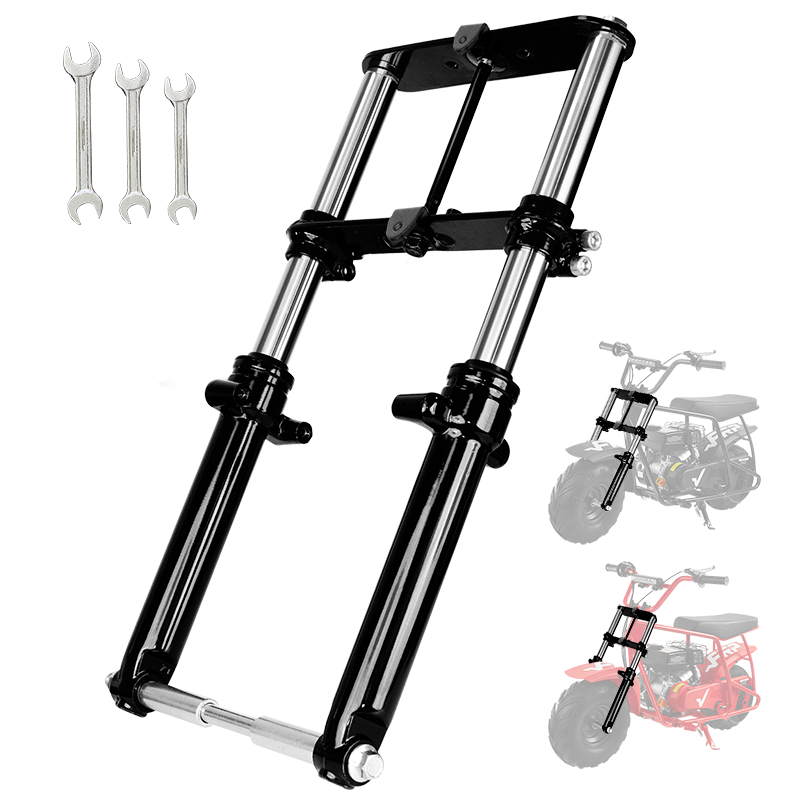
| Stage 3: Trail-ready upgrade | FRP GMB100P Gas Mini Bike | $499.99 | Front suspension, hydraulic brakes, all-terrain tires, rougher off-road riding. |
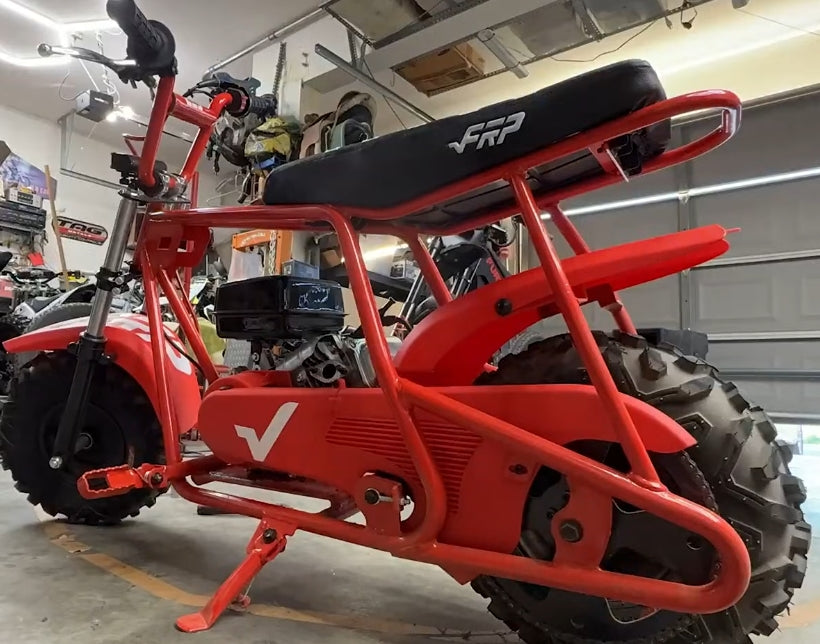
| Stage 4: Predator 212 custom build For a full parts list, cost breakdown, and step-by-step procedure for the 212cc swap and other popular mods, see the custom mini bike build guide. | FRP GMB100 Mini Bike Frame + your compatible 99cc-212cc engine | $319.99 for the frame | DIY builders who already know they want a custom engine swap. |
Important: FRP does not sell the Predator 212 engine. If your goal is a Predator 212 swap, use the GMB100 Frame as the FRP foundation, then source the engine separately. If you want a ready-to-ride FRP mini bike today, choose the GMB100, GMB100U, or GMB100P instead.
No hype. Just what riders are actually doing with their GMB100s.
Stage 1: Know Your Baseline (Stock Setup)

- Engine: 99cc 4-stroke OHV
- Top Speed: around 24 mph (varies by rider weight and terrain)
- Fuel Tank: 0.36 gal (about 30 miles per tank)
- Max Weight: 220 lbs
- Transmission: chain drive with dry centrifugal clutch — beginner-friendly
Many experienced riders suggest logging around 10 hours on the stock setup to develop throttle control, balance, and braking instincts before pursuing more power.
Stage 2: Light Mods First (Low Cost, Big Feel)
- High-flow air filter + carb jet kit → quicker throttle response
- Freer-flowing exhaust → better breathing, cleaner sound
- Sprocket ratio change → trade some top speed for more torque, or vice versa
- Throttle-stop screw → useful for younger or newer riders
Many riders in the minibike community run setups like 12T/40T, which trade a bit of top speed for stronger low-end torque and safer control for beginners.
Stage 3: Intermediate Mods (Stretching the 99cc Engine)
- 19mm “Mikuni-style” carb → smoother throttle and stronger mid-range
- NGK plug + performance clutch → cleaner ignition and quicker engagement
- Torque converter (TAV) → way better acceleration and hill climbing
- Header/exhaust upgrade → helps the 99cc breathe better at higher RPM
Done right, this can unlock roughly 30–40% more usable power while maintaining the stock motor's reliability.
Stage 4: Predator 212 Swap (The “Final Form”)

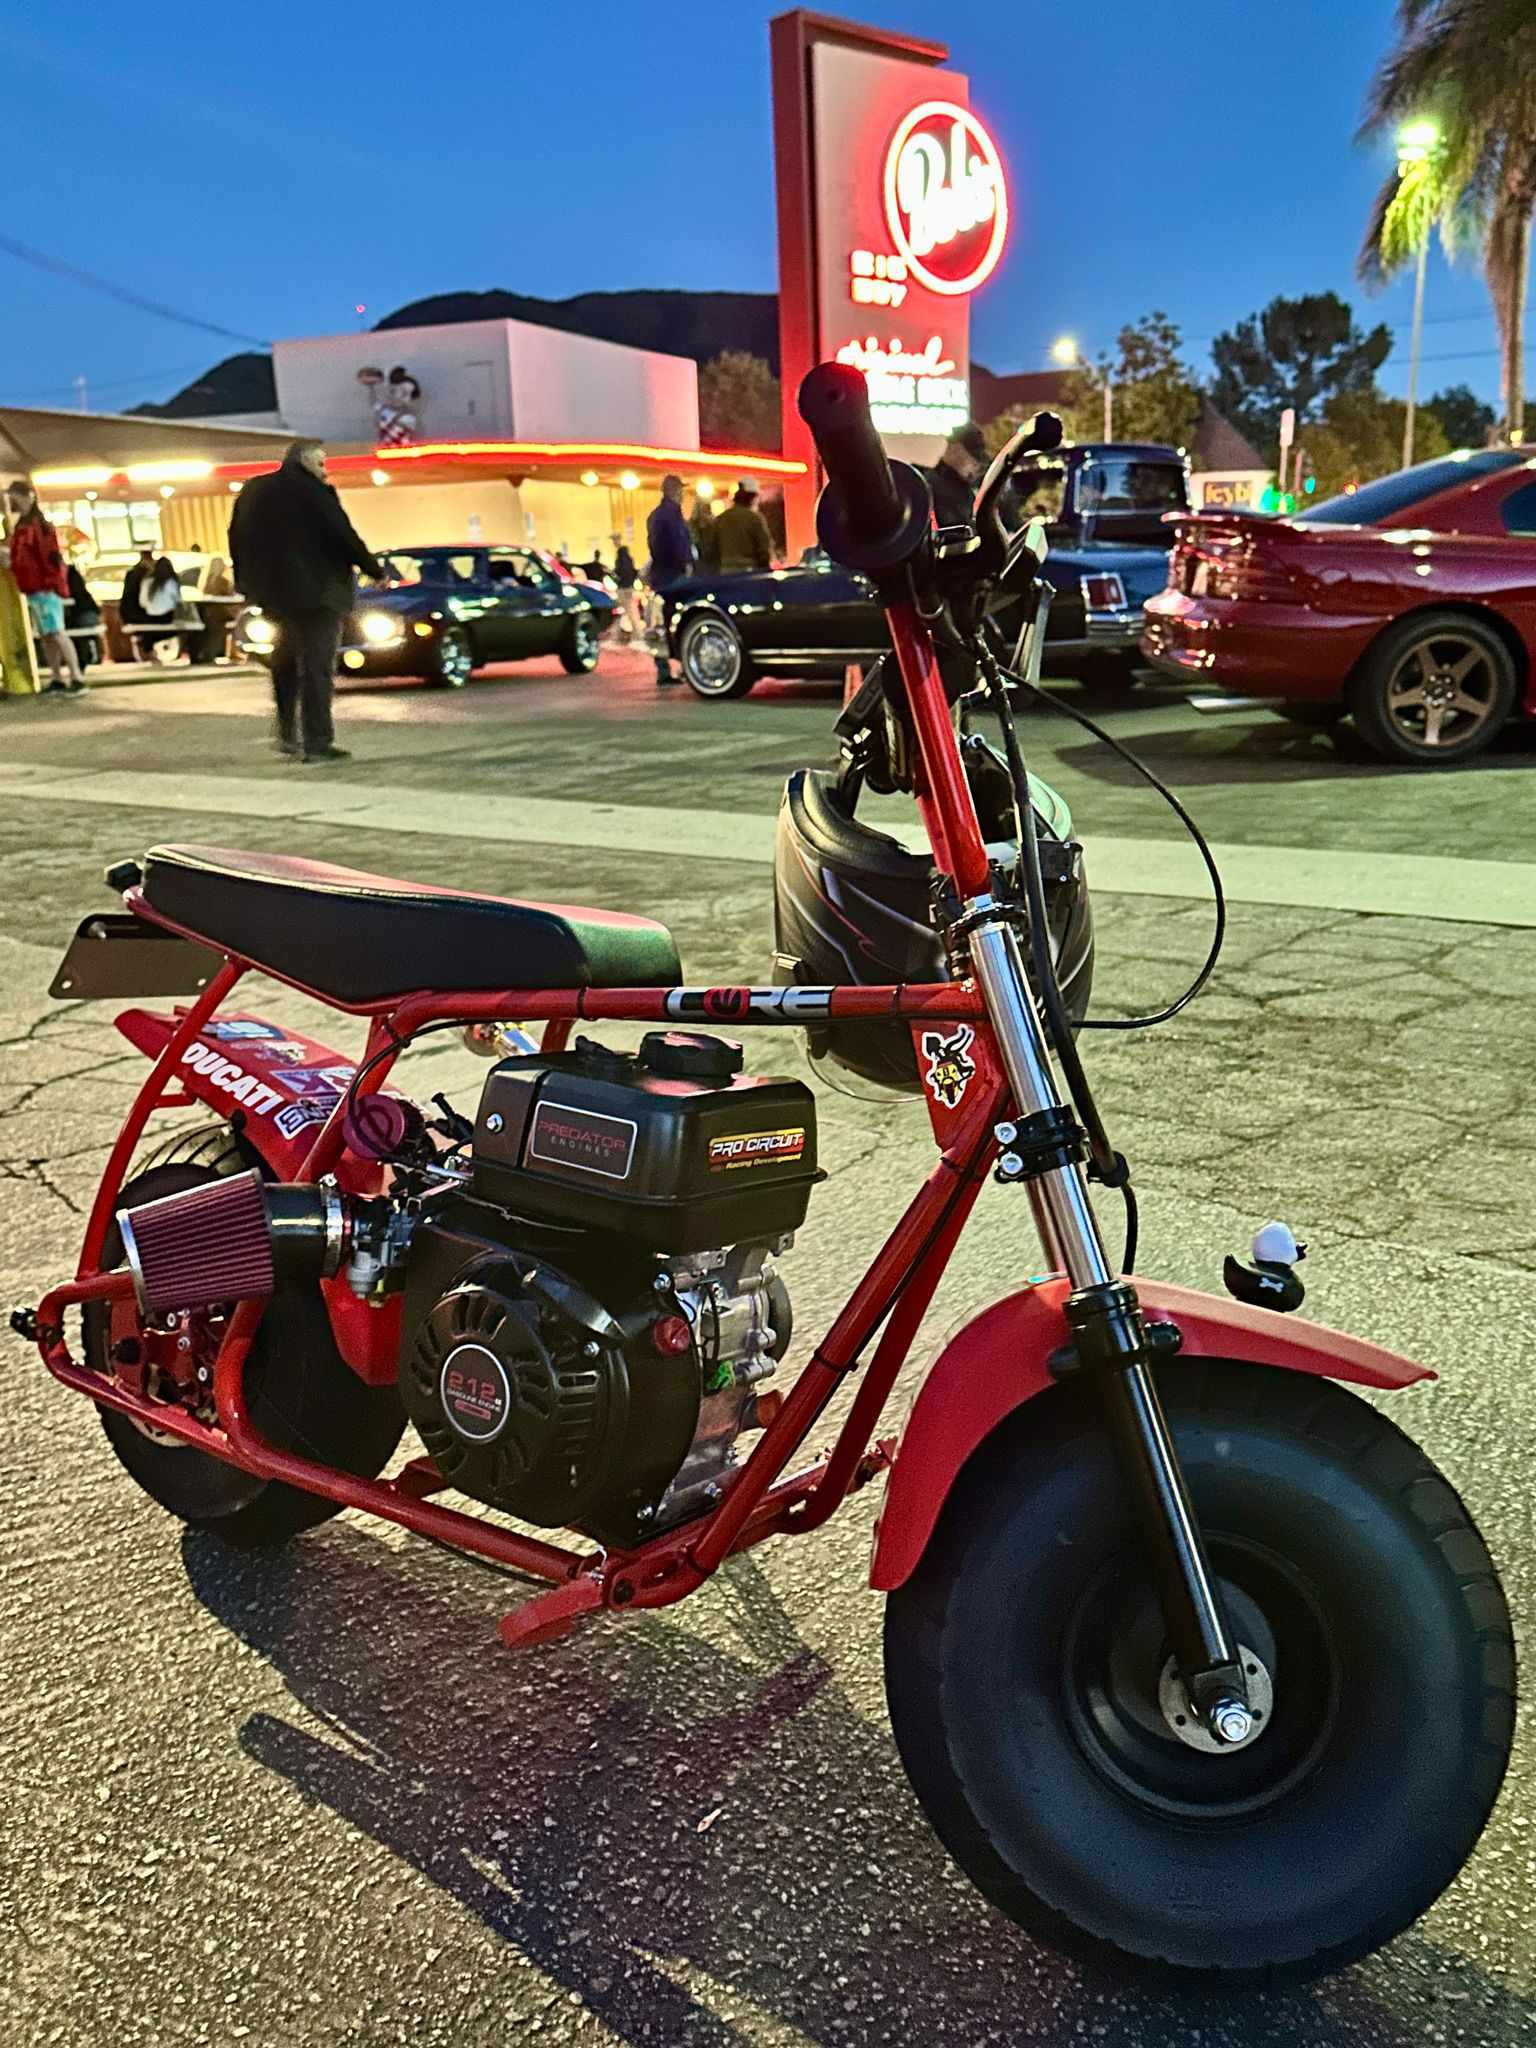
On Reddit and YouTube, the Predator 212 swap is often called the “final form” of many GMB100 builds. Twice the power, tons of aftermarket support, and proven reliability for adult riders.
Why people go 212:
- 6.5+ HP — more than double the stock engine
- Massive aftermarket ecosystem (carbs, cams, billet flywheels)
- Widely used by hobby racers and weekend riders
What the swap usually involves:
- Custom or modified engine mount
- Chain alignment and proper tensioning
- Upgraded clutch and throttle cable
- New exhaust routing (the 212 is wider than stock)
Because of the power jump, many builders recommend keeping this swap for experienced or adult riders. If kids are riding, some add a governor or throttle limiter afterward to keep things in check.
Ready to start your build? The FRP GMB100 Frame ($319.99) is designed for 99cc-212cc engine compatibility. It is the foundation many builders start with when they want a custom GMB100-style project instead of a ready-to-ride stock bike.
Not sure if a custom build is right for you? Compare the GMB100, GMB100U, and GMB100P before you choose.
Starting from a roller instead of upgrading a complete bike? The roller frame build checklist lists what is already fitted and what you still buy, and RMB Rebel vs Rascal GT Drag Kit compares the two drag rollers spec by spec.
Safety & Maintenance Habits Riders Swear By
- Check oil, chain, and brakes before every ride
- Change oil every 10 hours of use
- Monthly hardware check — vibration loosens things fast
- Add a tether kill switch for emergency shutoff
- Always wear full protective gear, especially after performance mods
Big-Engine Questions: 99cc CVT, 212cc Path, and 424cc Limits
Some riders ask whether a stock 99cc GMB100 needs its own torque converter, while others jump straight to very large engine ideas. Treat those as different paths. A stock 99cc bike is usually better served by correct maintenance, throttle return checks, chain setup, tire pressure, and brake condition before heavy drivetrain changes.
A Predator 212-style swap is already a build path that needs supporting parts: engine mounting, chain alignment, gearing, brake capacity, exhaust clearance, and heat management. It should not be treated as only an engine purchase.
A 424cc-style engine is outside the normal GMB100/GMB100P beginner-platform upgrade path. That level of power raises frame-clearance, mounting, clutch/torque converter, chain, sprocket, braking, heat, and rider-safety issues. If a rider wants that direction, it belongs in custom fabrication territory, not a standard bolt-on recommendation.
From “Make It Faster” to a Real GMB100 Build Path
A common rider path starts with one simple question: what should I get to make my FRP bike faster? The answer depends on whether you want a quicker stock-style 99cc bike, a cleaner adult trail setup, or a Predator 212-style build.
For a stock 99cc bike, start with control and reliability: clean oil, correct chain tension, good tire pressure, working brakes, and clean throttle return. For a stronger adult build, move in stages: hydraulic brakes, drivetrain and gearing checks, torque converter fitment, exhaust clearance, and frame support.
If the build includes mini bike stretch tabs, plan axle length, wheel spacing, brake line routing, and chain alignment together. Stretch tabs, longer axle needs, and hydros are connected fitment decisions, not separate random parts.
Predator 212, Tillotson 212E, or Ghost 212: Which Path Makes Sense for a GMB100?
If you are choosing a bigger engine for a FRP GMB100 build, do not start with the name on the engine box. Start with the fitment and safety path: engine footprint, stock gas tank clearance, throttle hookup, chain line, clutch or torque converter choice, brakes, and whether the engine will stay governed or be built for higher RPM.
A standard Predator 212 is usually the simplest value path because parts, mounts, and community knowledge are easy to find. A Tillotson 212E or Ghost-style 212 can make sense for riders who want more out-of-the-box performance, but those engines still need the same GMB100 fitment checks. A stronger engine does not remove the need for correct mounting, throttle return, brake upgrades, and flywheel or rod decisions if high RPM is part of the plan.
For the detailed checklist, use the GMB100 212 engine mount guide. If the plan includes governor removal or a high-RPM setup, read the mini bike governor removal risk guide before buying parts.
FAQ
Should I choose a Predator 212, Tillotson 212E, or Ghost 212 for a GMB100?
Choose by build goal. A Predator 212 is usually the simplest and most supported value path. A Tillotson 212E or Ghost-style 212 may appeal to riders who want more performance out of the box, but fitment, throttle setup, fuel tank clearance, brakes, chain line, and high-RPM safety parts still matter on a GMB100.
Is a more powerful 212 engine enough by itself?
No. The engine is only one part of the build. A GMB100 212 setup also needs the right frame or mount, drivetrain alignment, brake control, throttle return, and a clear decision about whether the engine will stay governed or be built for higher RPM.
FAQs — Pulled from Real Community Questions
Q: Can a Predator 212 bolt right onto a GMB100?
A: Not directly. Most builds need a new mount, chain alignment, and throttle linkage. Some use a ¾-inch jackshaft for easier fitment and gearing options.
Q: How fast is a GMB100 with a Predator 212?
A: Around 35–40 mph depending on gearing, rider weight, and tires. That’s a big jump — full gear is a must.
Q: What gearing works best for kids?
A: 12T/40T or 12T/38T shows up often in posts — strong low-end torque, moderate top speed.
Q: Should the brakes be upgraded for a 212?
A: Most builders say yes — hydraulic brakes or larger rotors are common upgrades when doubling the power.
Could FRP Sell an Upgraded GMB100 With the Same Engine?
Some riders do not want to jump straight into a 212cc swap. They want the GMB100 to keep the familiar 99cc engine, but add a cleaner factory-supported upgrade path around the drivetrain, seat, tires, brakes, and control feel.
That is a smart way to think about long-term value. A mini bike does not have to become a full custom build on day one. The better path is often staged: learn the stock bike first, then add upgrades that improve control, comfort, durability, and serviceability before chasing more engine.
| Rider goal | Better first upgrade path | Why it matters |
|---|---|---|
| Smoother low-speed pull | Torque converter planning | Helps riders think beyond raw speed and toward controllable power delivery. |
| Stronger drivetrain margin | 420 chain, clutch, and sprocket kit | Reduces guesswork when the bike moves into higher-load riding or larger-engine planning. |
| More speed or more torque | Rear sprocket size guide | Lets the rider choose a purpose instead of buying a random tooth count. |
| More confident stopping | Hydraulic brake kit | Any drivetrain or speed upgrade should include a brake reality check. |
| Better wheelie practice control | Wheelie bar and seat grip checks | Accessories should support practice, not replace throttle control or braking skill. |
This is the difference between a cheap mini bike and a starter-to-upgrade platform. FRP's value is not only the entry price; it is that the GMB100 owner can keep building with clearer parts, better fitment confidence, and a more understandable upgrade path.
FAQ: Can I build an upgraded GMB100 without swapping the engine?
Yes. A rider can keep the stock 99cc engine and still improve the bike through tires, seat comfort, brakes, drivetrain inspection, sprocket choice, and control-focused accessories. A 212cc swap is only one later path, not the only upgrade path.
Should I add a torque converter before a 212 swap?
It depends on the build goal. A torque converter can improve low-speed pull and rideability, but it should be planned with the correct chain, sprocket, brake, and clearance setup. Read the 212 torque converter guide before buying parts.
Why Is the Clutch Flipped on Some 212cc or 224cc GMB100 Builds?
When riders see a clutch mounted in the opposite direction, it is usually not for looks. On a 212cc or 224cc GMB100 build, the clutch may be flipped because the chain will not line up with the rear sprocket in the standard position. Engine plate location, clutch spacing, sprocket offset, and frame clearance can all change the chain line.
The goal is a straight chain path from clutch to rear sprocket. If the chain is visibly angled, it can wear faster, pull against the sprocket teeth, and make chain slack harder to set. Before riding, confirm that the clutch sprocket and rear sprocket sit in the same plane, the chain clears the frame, and the muffler or header is not forcing the engine into a poor mounting position.
If you want the 212cc/224cc build experience, start with the #35 vs #420 chain guide and the 420 drivetrain kit. If you mainly want a more controlled ready-to-ride setup, compare the build path with the GMB100P 99cc gas mini bike before buying parts one at a time.
212 Swap Note: When Riders Mention Torque Converters and 50T Sprockets
In real GMB100 212cc build discussions, riders often bring up rider weight, torque converter choice, and rear sprocket size together. The reason is simple: a heavier rider or a stop-and-go yard build usually needs more low-speed pull than a light rider on a flat, open surface.
A clutch can work on many simple mini bike builds, but a torque converter is often the easier path when the goal is smoother takeoff, better low-speed pull, or less clutch abuse on a 212cc setup. A larger rear sprocket, such as a 50T-style setup, can also favor torque over top speed. The tradeoff is that more low-end pull usually means less top-end speed.
Before buying parts, map the build around how the bike will be ridden: rider weight, terrain, takeoff needs, chain size, sprocket size, and brake control. Compare the FRP x ParkerPro torque converter, the 420 sprocket, chain, and clutch kit, and the mini bike sprocket size guide.
Drivetrain & build deep dives
Explore More Mini Bike Upgrade Guides
Looking to go deeper? Check out these related build guides and resources:
Disclaimer: This guide reflects community experiences and common mod practices shared by riders. All modifications are done at your own risk. Always wear proper safety gear and follow local laws.